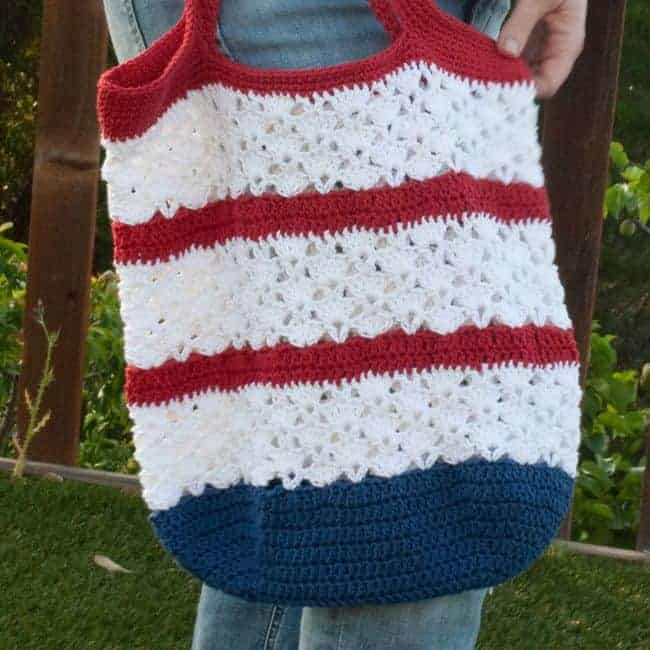
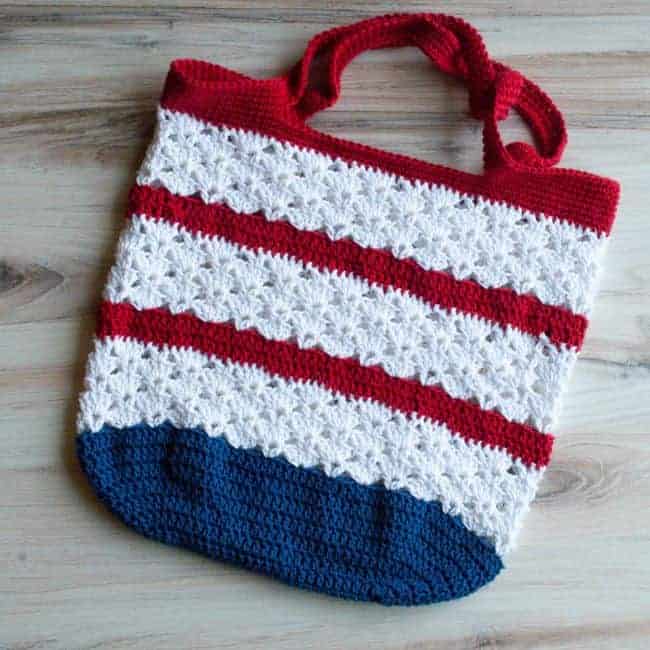
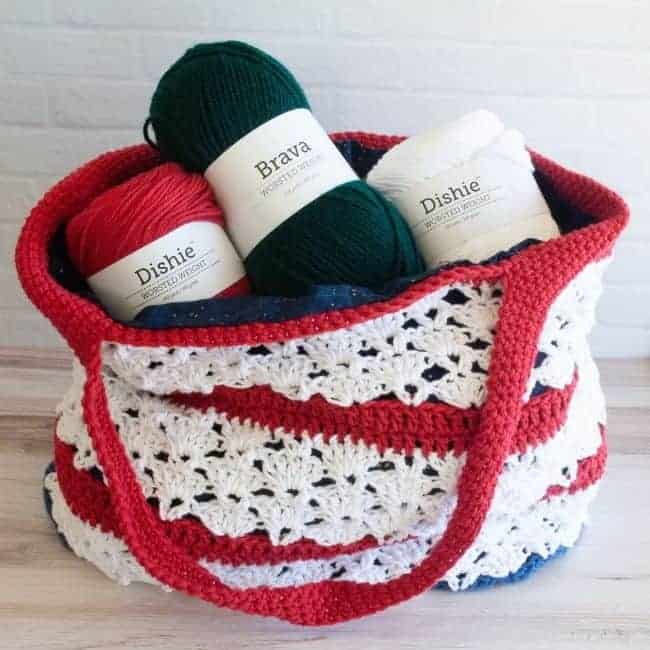
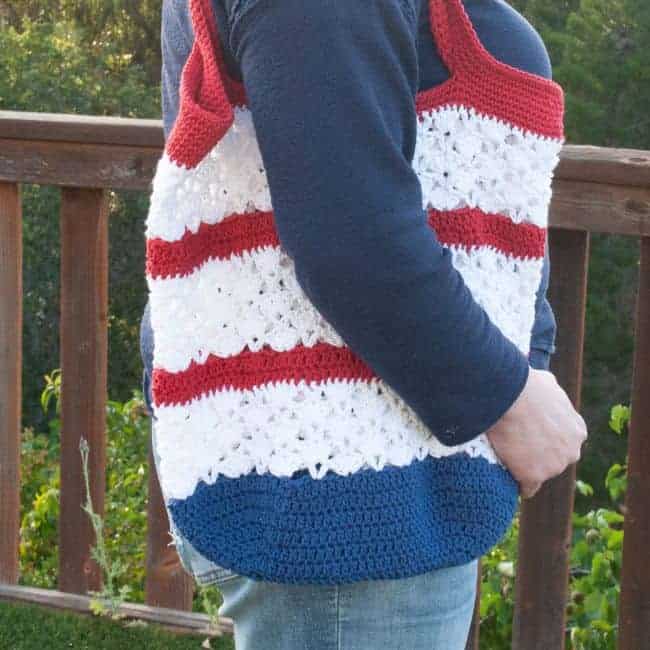
The Shell Stitch Market Bag is a fun and free crochet tote bag pattern to make in multiple colors. Choose red, white, and blue for a Fourth of July themed bag. Or pick any of your favorite colors.
The crochet tote bag works well as a market bag on its own without a lining. Or add a fabric lining too with this step by step photo tutorial.
This post may contain affiliate links. Please see my full disclosure policy details.
Worsted weight cotton yarn is recommended. The crochet tote pattern is perfect for advanced beginners. You’ll get to work in the round with the pattern. And you get to try different combinations of basic crochet stitches.
The oval base gives the bag a nice size and shape. And the shell stitch in the white bands is also one of my favorites.
Pattern Options for the Shell Stitch Market Bag
The Shell Stitch Market Bag is a free crochet pattern for a market bag in U.S. crochet terminology. The written pattern is included for free on the blog below.
PDF Pattern Downloads: You can also purchase a printable PDF of this pattern in my Etsy Shop and Ravelry Shop.
- Purchase the PDF Pattern in My Etsy Shop
- Purchase the PDF Pattern in My Ravelry Shop
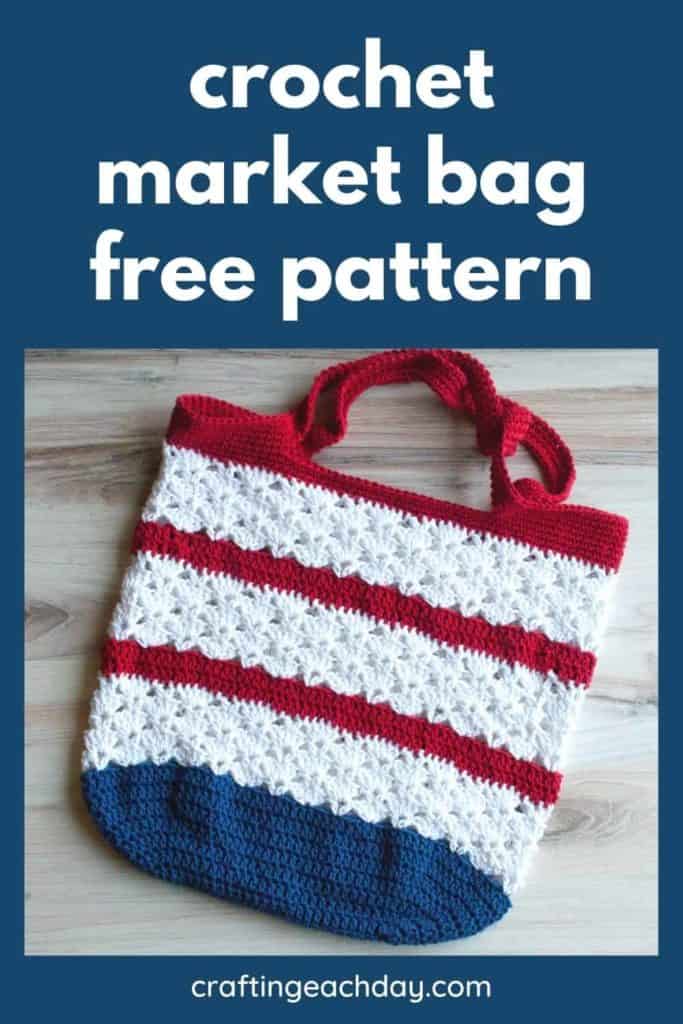
- Pin the Pattern for Later
About the Inspiration for the Shell Stitch Market Bag Pattern
I had the Fourth of July in mind when I started thinking about this bag design. It’s perfect for shopping in a farmers market. Or use it if you want to bring your own bags to the grocery store. The beautiful tote would also be fun to take along for a trip to the beach or a picnic.
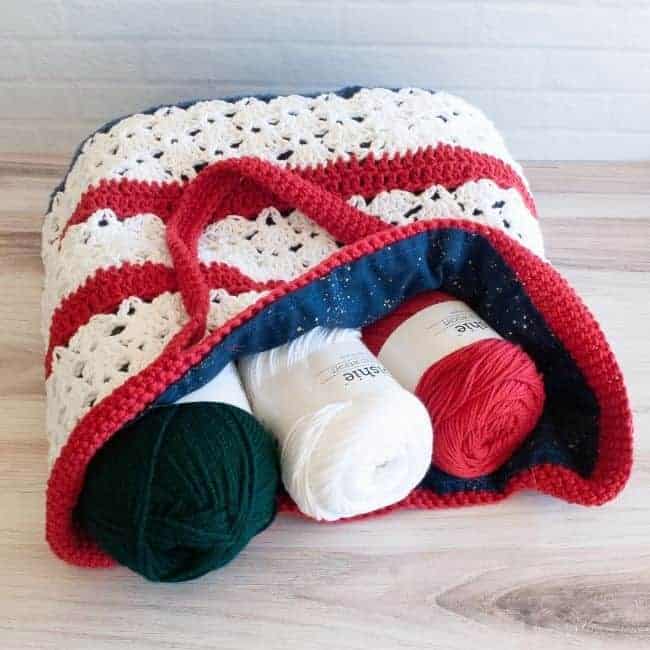
One of the best things about crocheted tote bags is that they have so many uses! Follow this tutorial for how to line a crochet bag, and you can use the tote in even more ways.
The lining is helpful if you want to carry some small items in it. Now that I’ve added the lining to mine, I find it’s the perfect size for a crochet project bag.
One of my friends once teased me about making crochet projects to hold my crochet projects. I thought – why not?
About the Yarn
The sample market bag is made with WeCrochet/KnitPicks Dishie in white, blue, and red. I love Dishie for a 100% cotton worsted weight yarn.
It’s remarkably soft. It also holds together well and is not as splitty as some medium weight 100% cotton yarns can be. And it has great stitch definition.
Like many yarns from WeCrochet/KnitPicks, it’s also affordably priced.
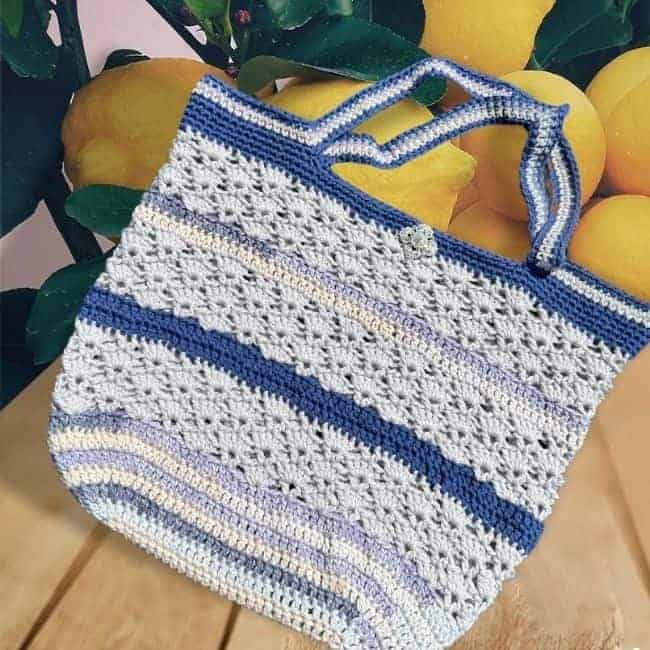
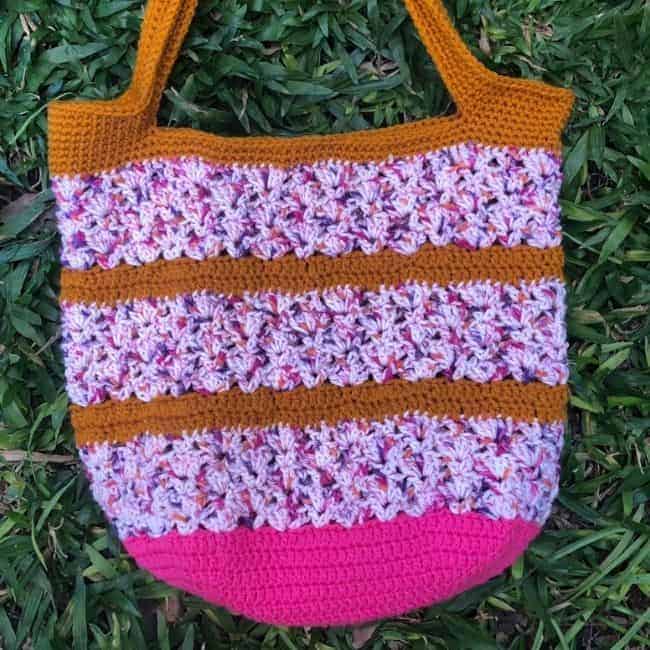
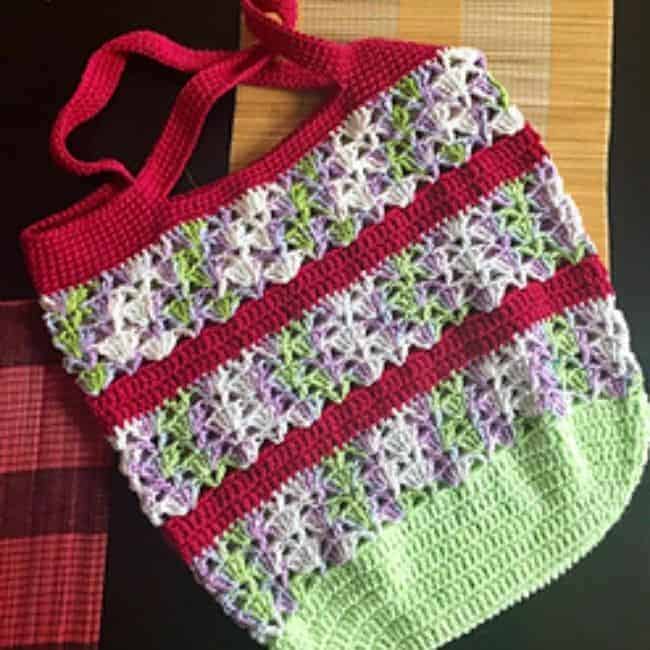
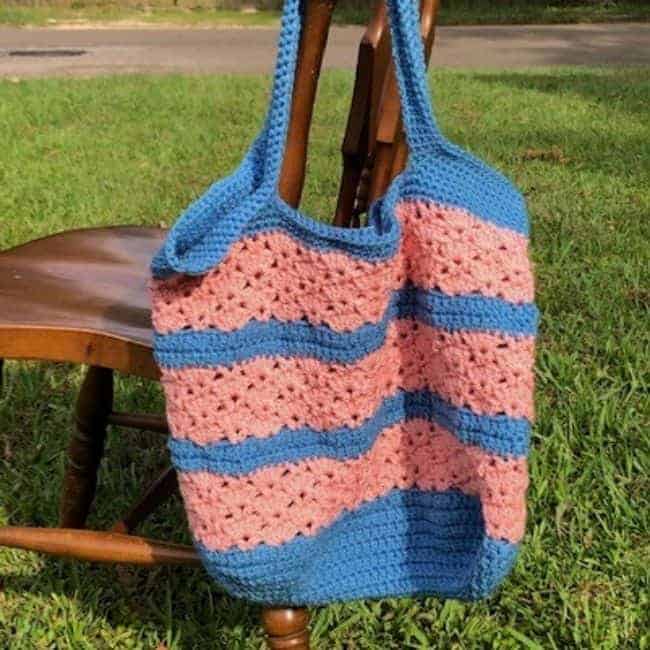
Of course, you should feel free to use another 100% cotton yarn and any fun colors that you choose. For some ideas for other colors, you may want to check out the tester project photos below.
Tester Projects
The testers made beautiful bags. I love seeing all the different ideas for color combinations. You can see a few below with all their different colors. Find more project photos over on Ravelry too!
Summer Designers Pick Blog Hop and Bundle
This pattern was featured on June 15, 2022 in the Summer Designers Pick Blog Hop and Bundle hosted by Itchin’ for Some Stitchin’, Ned and Mimi, and HanJan Crochet during June and early July, 2022.
The blog hop has ended. You can still use the first button below to go to the round up post and find great patterns for summer.

Summer Designers Pick Bundle

Loving all the patterns? The bundle is still available!
You can grab all 33 patterns at a great discount with the bundle. Just use the link below to go check it out.
Shell Stitch Market Bag Pattern
What You’ll Need
Yarn: Worsted weight cotton yarn (#4 Medium) in three colors of choice. Approximately 130 yards of Blue (Color A), 250 yards of White (Color B), and 150 yards of Red (Color C).
Shown: KnitPicks/WeCrochet Dishie (100% cotton), 190yd [174m]/3.5oz [240g]: #26670 (Navy) 2/3 skein; #28150 (White) 1 1/3 skein; #25786 (Fiesta Red) 3/4 skein.
Hook: Size H/8 (5.00 mm) or size need to obtain gauge (these are my favorite crochet hooks).
Notions: Tapestry needle, 4 stitch markers, tape measure.
Optional Materials for Lining the Bag with Fabric: Fabric (one yard), fabric scissors, paper scissors, tracing paper, ruler, tape measure, thread, needle, sewing machine, rotary cutter, cutting mat, pinking shears.
Sizing and Gauge
Size: Approximately 15 inches wide and 12 inches tall.
Gauge: 16 sts and 8 rows = 4” x 4” (10 cm x 10 cm) in dc.
Pattern Notes
- Video tutorial available for invisible join method at this post on the invisible join method.
- You can add an optional fabric lining to the bag if desired. Find step-by-step instructions with pictures for how to line the bag with fabric at this post on how to line a crochet bag.
Standard Stitch Abbreviations (U.S. Crochet Terminology):
beg = beginning
ch = ch
ch-1 sp = chain one space
dc = double crochet
pm(s) = place marker(s)
sc = single crochet
sk = skip
sl st = slip stitch
rep = repeat
rnd = round
st(s) = stitch(es)
( ) = work instructions inside parentheses as many times as directed; also used to indicate the st count at the end of rnds
* and ** = repeat instructions from asterisk or between asterisks as directed
Special Stitch Abbreviation (U.S. Crochet Terminology)
5-dc Shell: work 5 dc in one st (tutorial at this post on the 5-dc shell)
v-st = (dc, ch 1, dc) in the same st
Shell Stitch Market Bag Crochet Pattern
Base of the Bag
Foundation Chain: With Yarn A, Ch 29
Rnd 1: 5 dc in 4th ch from hook (counts as 6 dc), dc in next 24 ch, 6 dc in next ch, working on opposite side foundation ch, dc in next 24 ch, join with sl st to 3rd ch of turning ch. (60 dc)
Rnd 2: Ch 3 (counts as dc here and throughout), dc in same st, * 2 dc in next 5 dc, dc in next 24 dc, ** 2 dc in next dc; rep from * to **, join with sl st to 3rd ch of turning chain. (72 dc)
Rnd 3: Ch 3, dc in same st, * dc in next dc, (2 dc in next dc, dc in next dc) 2 times, (dc in next dc, 2 dc in next dc) 3 times, dc in next 24 dc, ** 2 dc in next dc; rep from * to **, join with sl st to 3rd ch of turning chain. (84 dc)
Rnd 4: Ch 3, dc in same st, * dc in next 2 dc, (2 dc in next dc, dc in next 2 dc) 2 times, (dc in next 2 dc, 2 dc in next dc) 3 times, dc in next 24 dc, ** 2 dc in next dc; rep from * to **, join with sl st to 3rd ch of turning chain. (96 dc)
Rnd 5: Ch 3, dc in same st, * dc in next 3 dc, (2 dc in next dc, dc in next 3 dc) 2 times, (dc in next 3 dc, 2 dc in next dc) 3 times, dc in next 24 dc, ** 2 dc in next dc; rep from * to **, join with sl st to 3rd ch of turning chain. (108 dc)
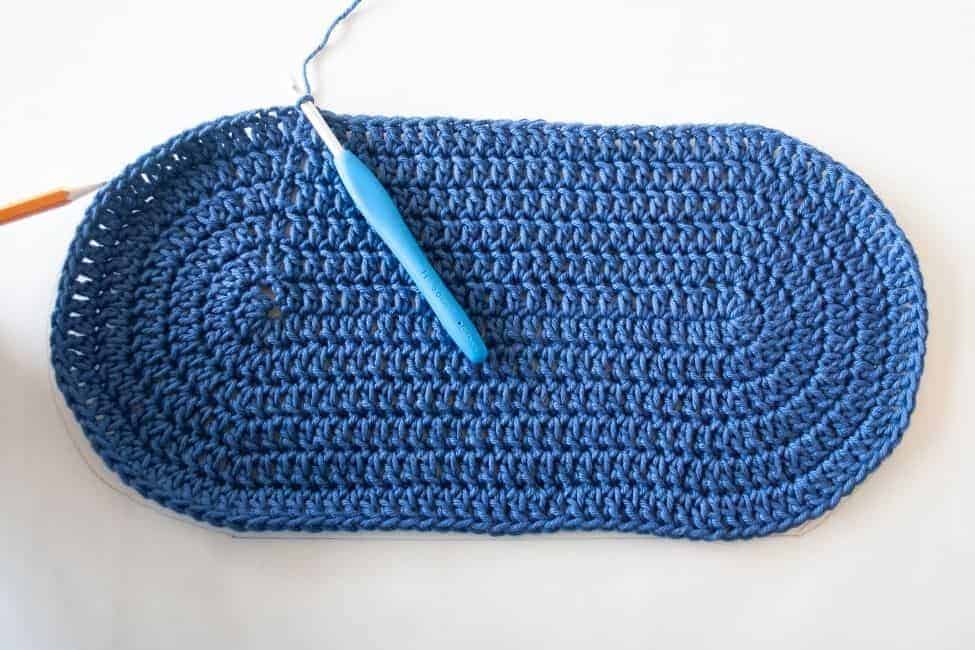
Rnd 6: Ch 3, dc in same st, * dc in next 4 dc, (2 dc in next dc, dc in next 4 dc) 2 times, (dc in next 4 dc, 2 dc in next dc) 3 times, dc in next 24 dc, ** 2 dc in next dc; rep from * to **, join with sl st to 3rd ch of turning chain. (120 dc) The photo below shows how the bottom will look at the end of Rnd 6.
Rnd 7: Ch 3, dc in next dc and in each dc around, join with sl st to 3rd ch of turning chain. Fasten off Yarn A. (120 dc)
Body of the Bag
Rnd 8: Join Yarn B with sl st to same st, (ch 3, 4 dc) in same st (counts as first 5-dc shell, pm at top of ch 3 to mark beg of rnd), sk 3 dc, v-st in next dc, sk 3 dc, * 5-dc Shell in next dc, sk 3 dc, v-st in next dc, sk 3 dc; rep from * around, join with sl st to top of beg ch-3. (15 v-sts and 5-dc Shells)
Rnd 9: Sl st 2 times to get to 3rd dc in center of the 5-dc Shell, (ch 4, dc) in same st (counts as first v-st, pm in 3rd ch to mark beg of rnd), 5-dc Shell in sp at center of next v-st, * v-st in 3rd dc at center of next 5-dc Shell, 5-dc Shell in center of next v-st; rep from * around, join with sl st to 3rd ch of beg ch-4.
Rnd 10: Sl st in sp at center of v-st, (ch 3, 4 dc) in sp at center of v-st (pm at top of ch 3 to mark beg of rnd), v-st in 3rd dc at center of next 5-dc Shell, * 5-dc Shell in center of next v-st, v-st in 3rd dc at center of next 5-dc Shell; rep from * around, sl st to top of beg ch-3.
Rnd 11-12: Rep rnds 9-10. Fasten off Yarn B at end of rnd 12.
Rnd 13: Join Yarn C with sl st in any sp at the center of a v-st, ch 3, dc in next 7 dc, *dc in sp at center of v-st, dc in next 7 dc; rep from * around, join with sl st to top of beg ch-3. (120 dc)
Rnd 14: Ch 3, dc in next st and in each st around, join with sl st to top of beg ch-3.
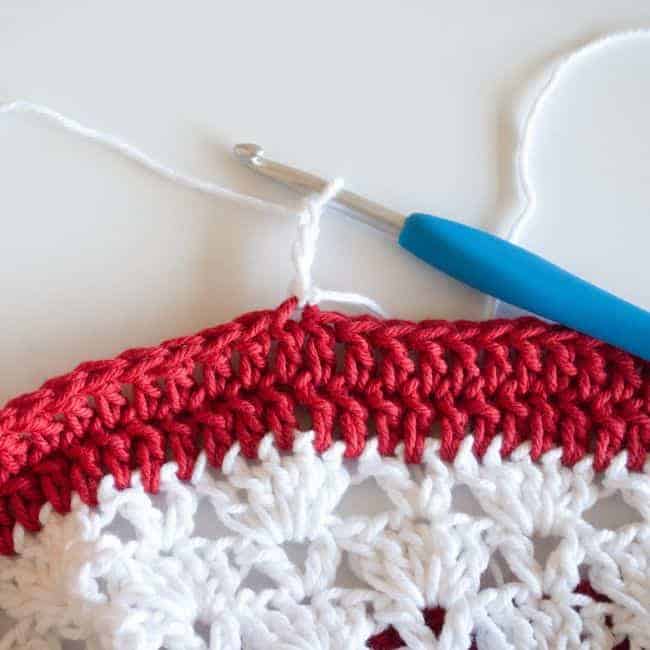
Rnds 15 – 21: Rep rnds 8 – 14. When joining yarn B, join the yarn in a st that lines up with the center of a 5-dc Shell from three rows below. The photo below shows where to join the yarn.
Rnds 22 – 26: Rep rnds 8 – 12 in same manner.
Top of the Bag and Bag Handle
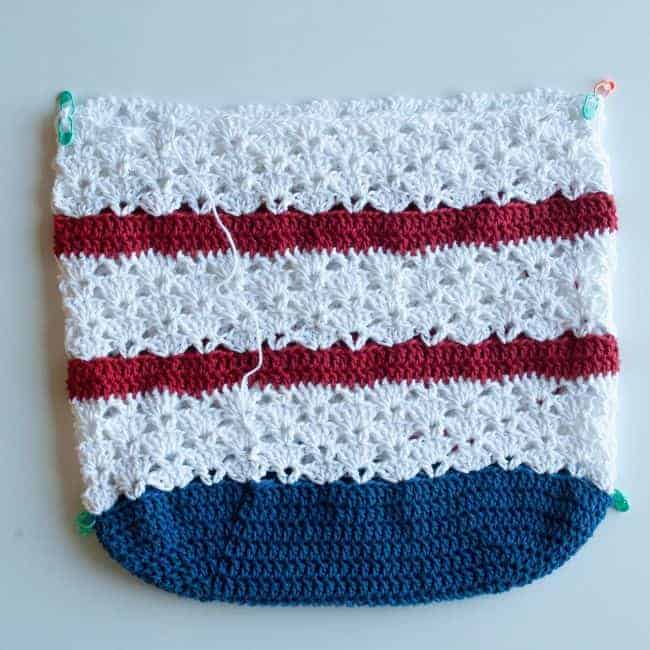
Place markers in the two edge stitches on each side of the bag. Pick one of the marked stitches on the right-hand side of a pair of markers. Join Yarn C with a sl st to this st.
In the first photo below, the chosen stitch is the one that I marked with an orange stitch marker. The second photo shows the start of Rnd 27 with the first st being made in the st with the orange marker.
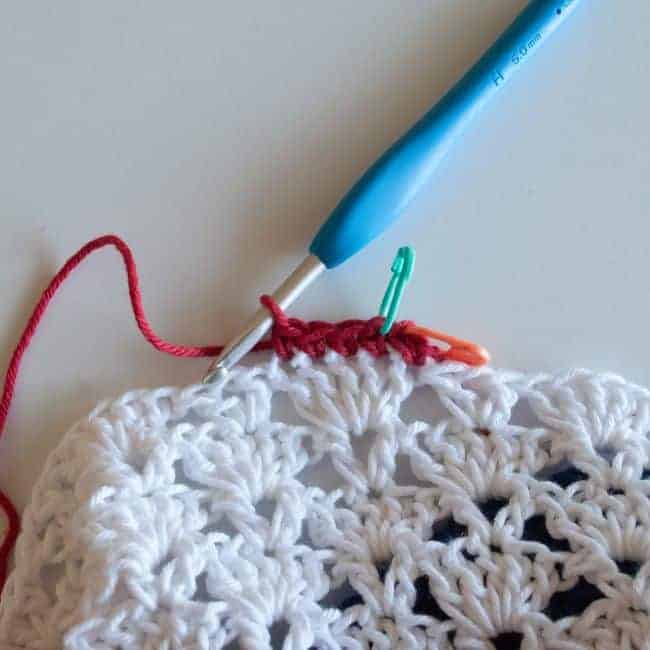
Rnds 27 – 29: Join yarn C with a sl st in the st described above, ch 1 (does not count as a st), sc in same st and in each st and ch-1 sp around. For all rnds of the handle, the sts are worked in continuous rnds. Do not join or turn work. Keep moving the marker up each rnd to keep track of the first st of the rnd. (120 sc in each rnd)
Rnd 30: Sc in 18 sts, ch 60, sk 26 st, sc in 34 sts, ch 60, sk 26, sc in 16 sts. (68 sc and 120 chs)
Rnds 31 – 34: Continue working sc in a continuous spiral for three more rnds. In Rnd 31, work sc directly into the chs from Rnd 30. At end of rnd 34, either join with a sl st to first sc of prior rnd and fasten off or if you would like an invisible looking join, use the invisible join method to finish Rnd 34 instead. Find a tutorial for the invisible join at this post on the invisible join method. (188 sc in each rnd)
Other Crochet Accessory Patterns You Might Enjoy
For other accessory patterns that use a shell stitch, you may enjoy the Sunny Spring Cowl and the Breann Hat.

