When crocheting a hat from the bottom up, there is often a hole left at the top of the hat after the final round. This is a tutorial on how to close the top of a crochet hat. The photos below show step by step a method of weaving the yarn in and out through the last round of stitches to close up the hole.
This post may contain affiliate links. Please see my full disclosure policy details.
To close up the top of a crochet hat using this method, the only tool you will need is a tapestry needle. This is the method I used to close up the hole at the end of my Velvet Hat pattern.
STEP BY STEP TUTORIAL FOR HOW TO CLOSE THE TOP OF A CROCHET HAT
STEP ONE
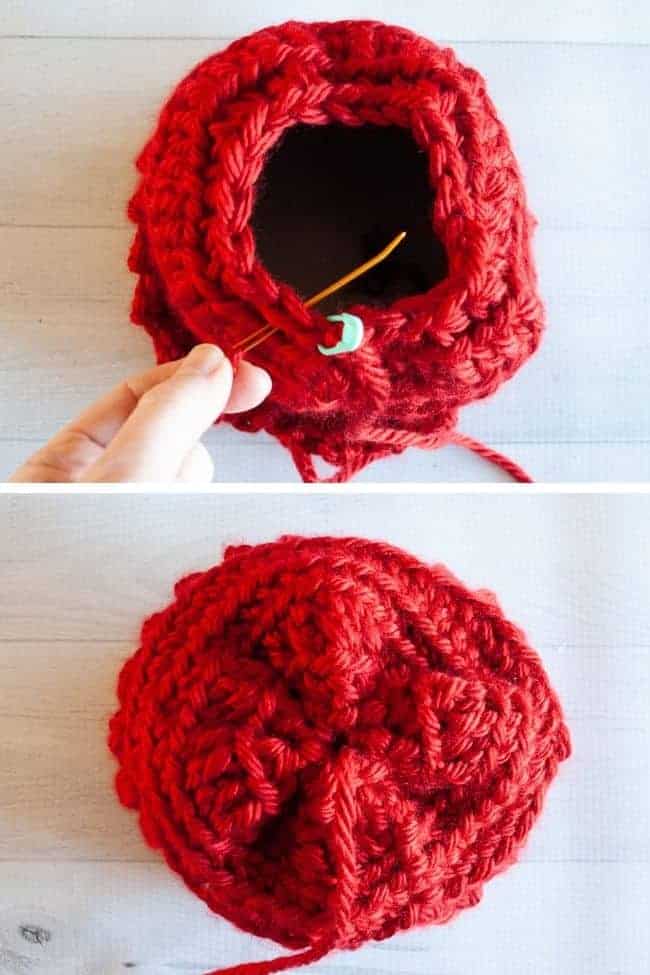
View of top of hat with the last stitch marked. Take the yarn tail and thread it through a tapestry needle to prepare to close the top of the hat.
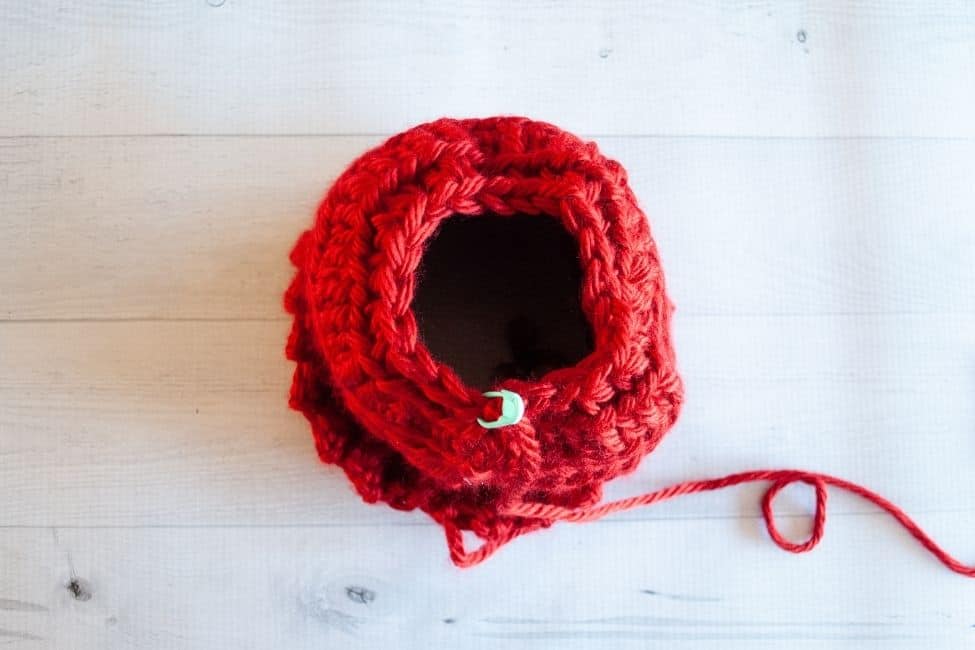
STEP TWO
Begin weaving the yarn in and out through the last round of stitches. Insert the tapestry needle through the first stitch to the left of the marked stitch. Insert under the top two loops of the stitch. Insert the needle going from the outside of the hat to the inside of the hat.
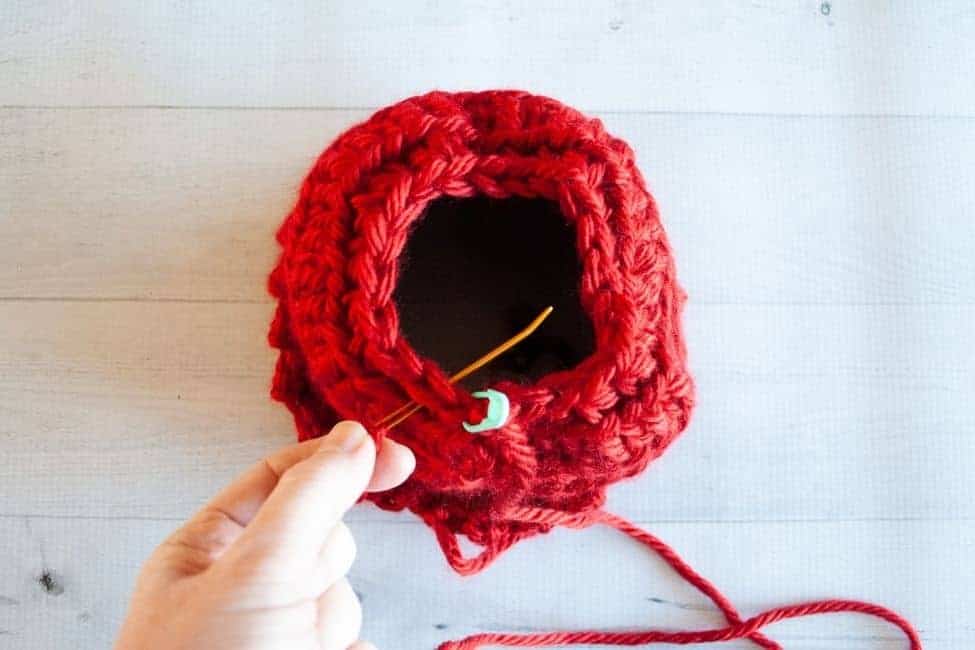
STEP THREE
Continue weaving the yarn in and out of the stitches. Insert the needle through the second stitch to the left of the marked stitch. Insert the needle under the top two loops of the stitch. Insert the needle going from the inside of the hat to the outside of the hat.
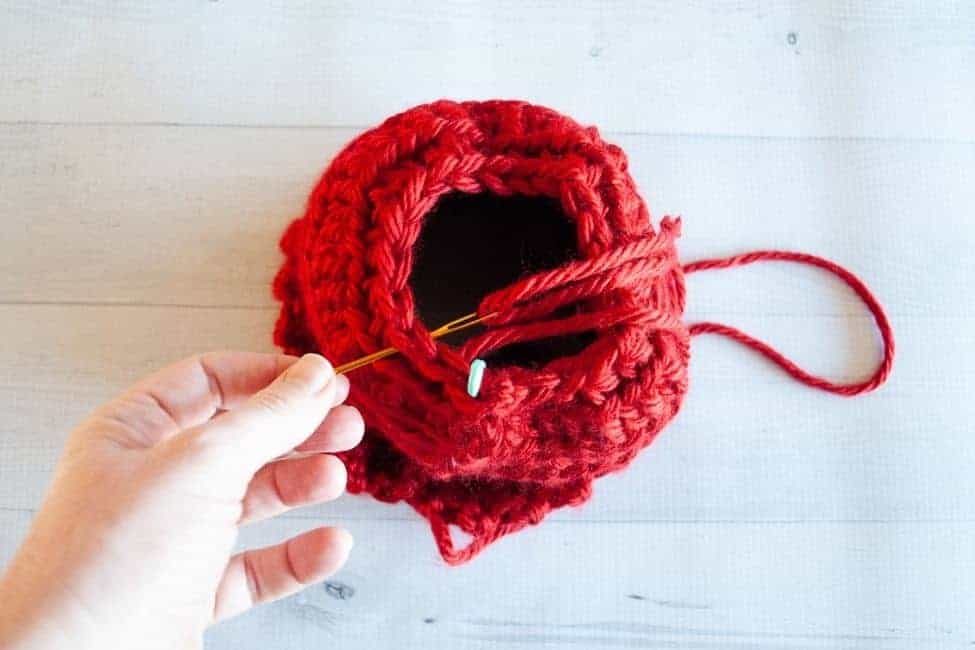
STEP FOUR
Continue around the hat. Move to the next stitch. Alternate going from the outside to the inside of the hat with going from the inside to the outside of the hat. Continue inserting the needle under the top two loops for all of the stitches.
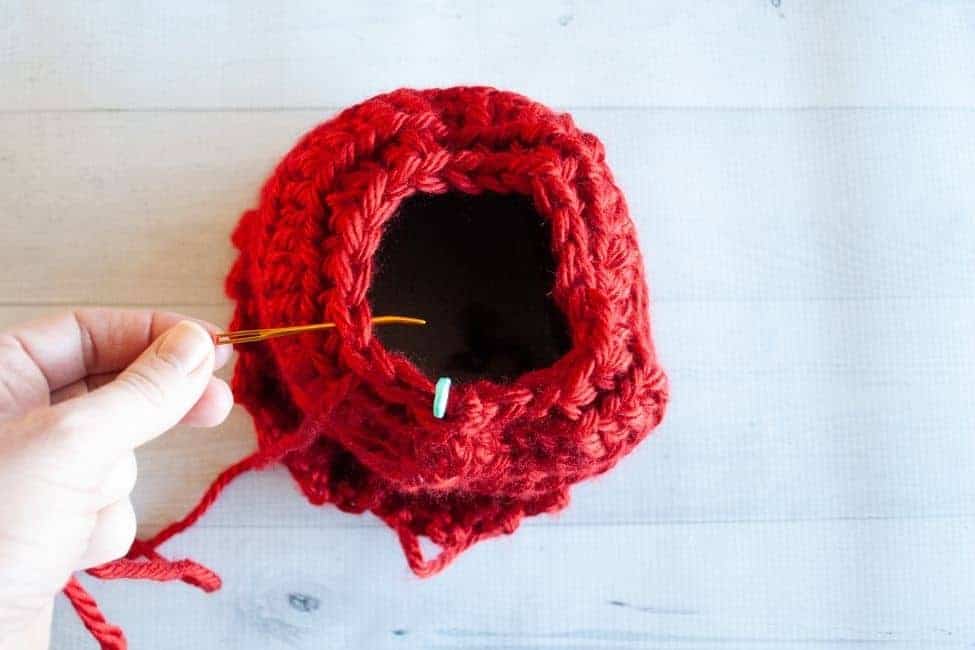
STEP FIVE
After continuing around the hat, finish by inserting the needle through the marked stitch.
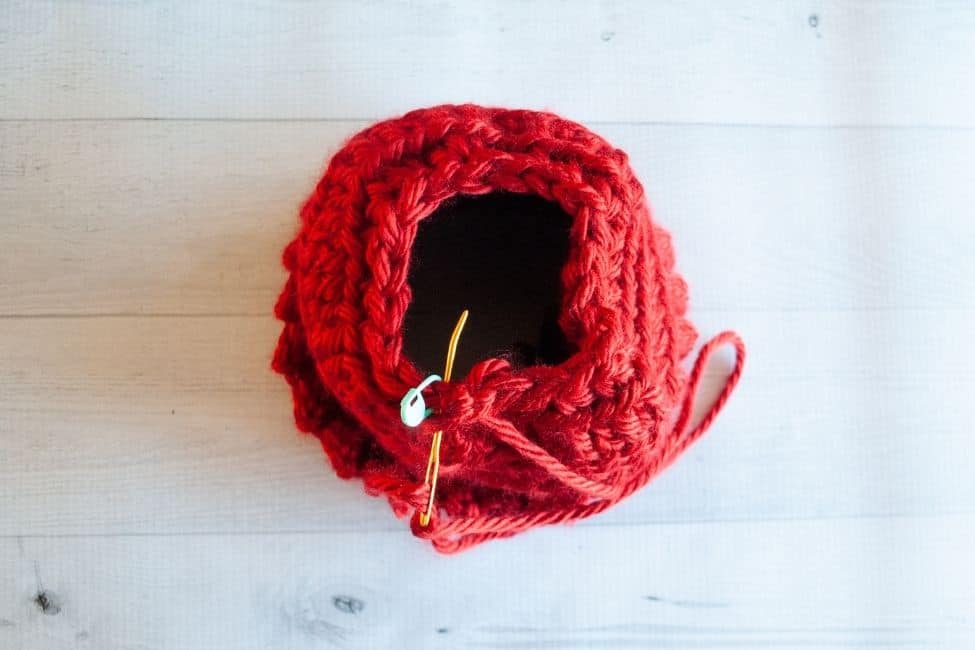
STEP SIX
Begin pulling gently on the yarn tail to start to close the top of the hat.
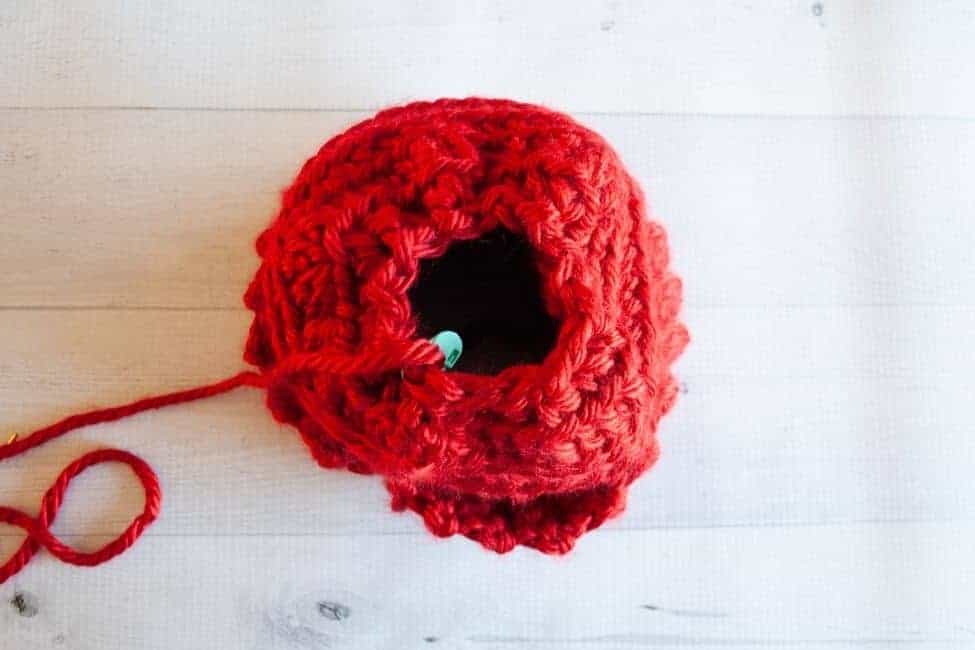
STEP SEVEN
Continue pulling gently on the yarn tail until the top of the hat is closed.
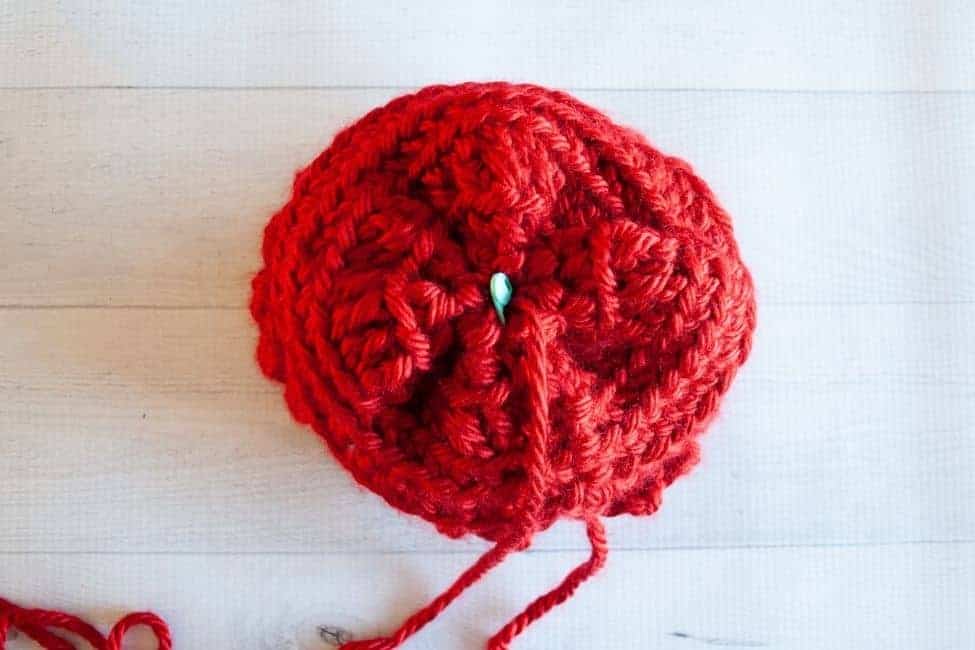
STEP EIGHT
Remove the stitch marker.
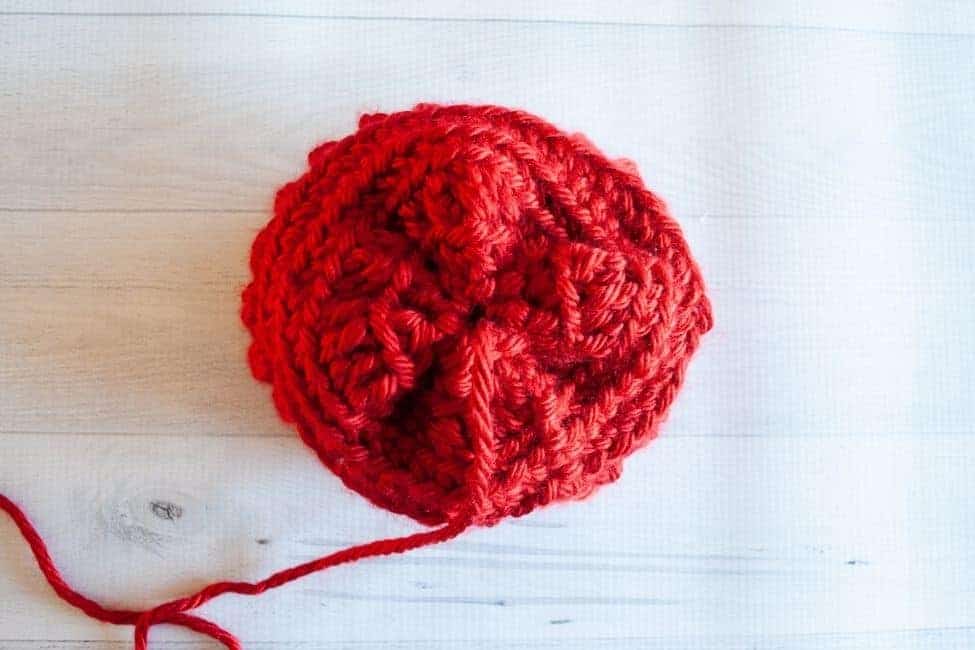
STEP NINE
If desired, run a few more stitches back and forth across the top of the hat to close it even more tightly. Run a stitch in the direction of the arrow from top to bottom.
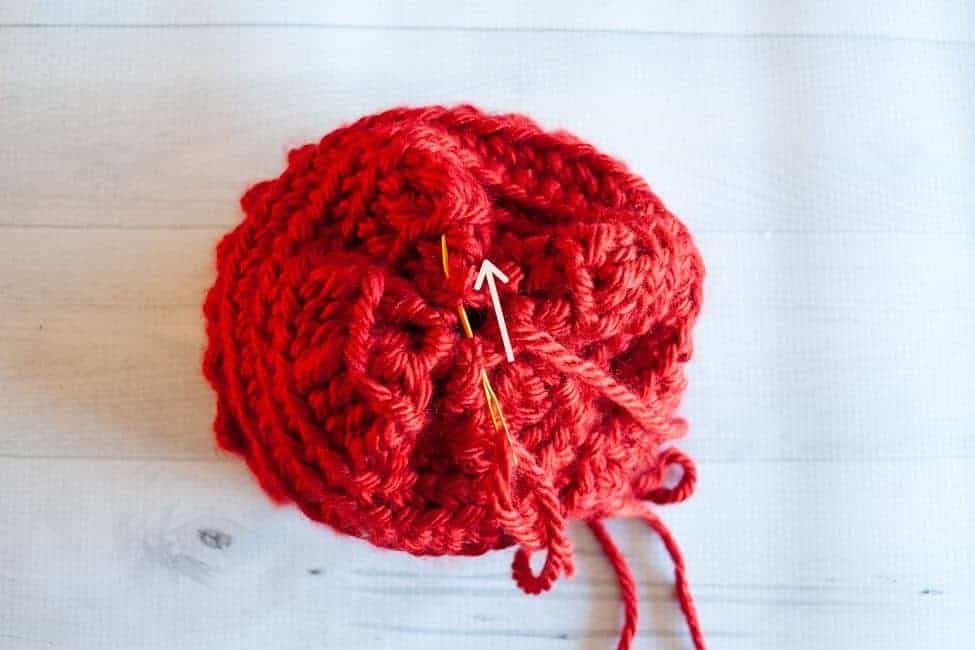
STEP TEN
And, then run a stitch in the direction of the arrow from right to left. Repeat steps nine and ten once more if desired. Weave in the yarn tail on the inside of the hat. Weave in any remaining tails on the inside of the hat to finish the project.

For a project that uses this technique, check out the Velvet Hat pattern. For other crochet tutorials, check out my crochet tutorials page.

