The flat slip stitch join is one of my favorite joining techniques. The join makes a flat surface that looks great on both sides of your work.
This method works great for joining the edges of crochet projects. It also works great for joining crochet motifs like solid granny squares.
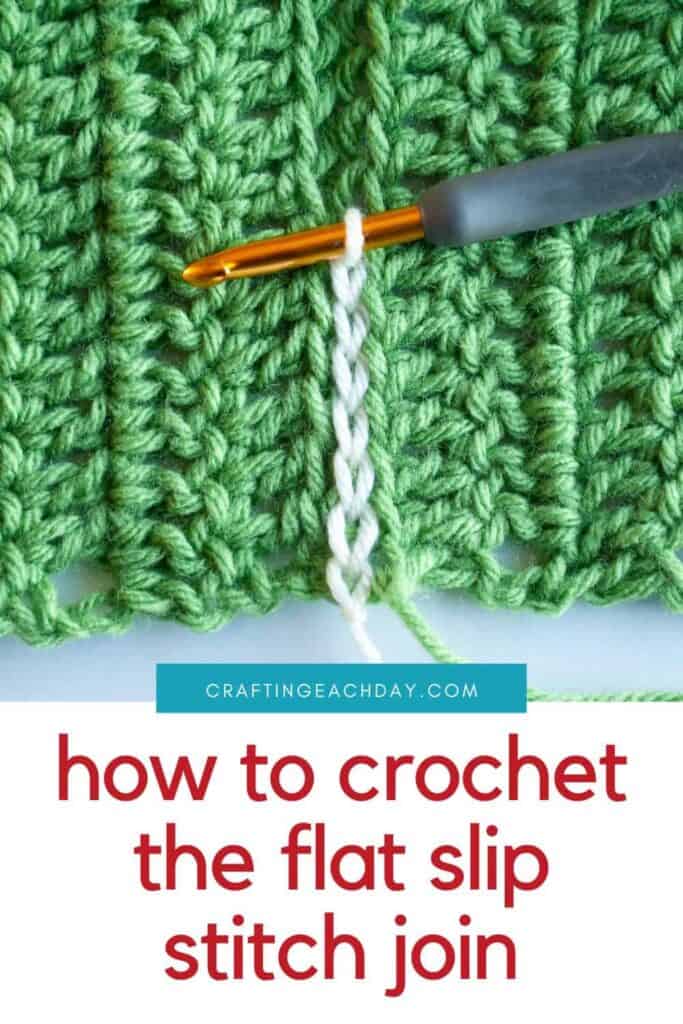
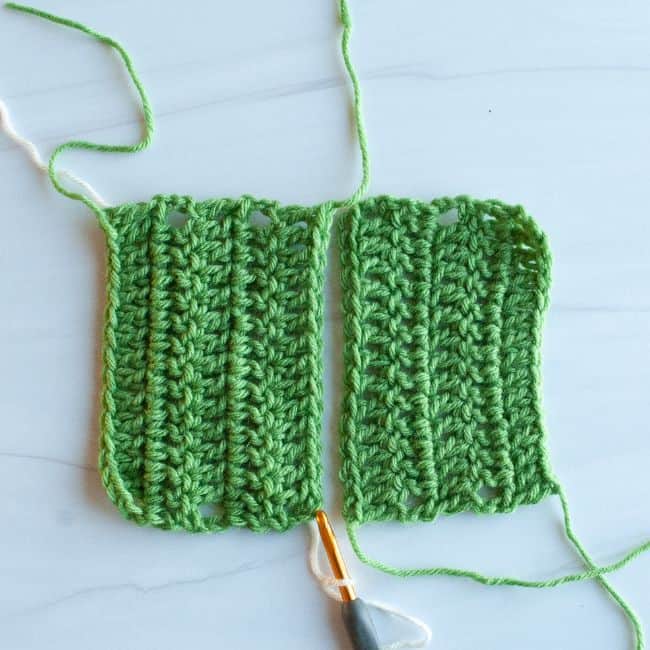
The technique is easy to master with a bit of practice. You only need to know basic techniques and stitches to practice the flat slip stitch join.
Working in the bottom bumps of the chain makes it easier to work the flat slip stitch join. Working in the bottom bump means the bottom edge of the work will look the same as the top edge of the work.
STEP BY STEP PICTURE TUTORIAL FOR HOW TO CROCHET BACK LOOP ONLY
1) LINE UP THE EDGES AND PLACE A SLIP KNOT ON YOUR HOOK
Line up the edges of your crochet pieces next to each other. Place a slip knot on your crochet hook. Line up the working yarn (which is off-white in the photo) underneath the project. The photo tutorial is using off-white as a contrasting color of yarn to highlight how the join works.
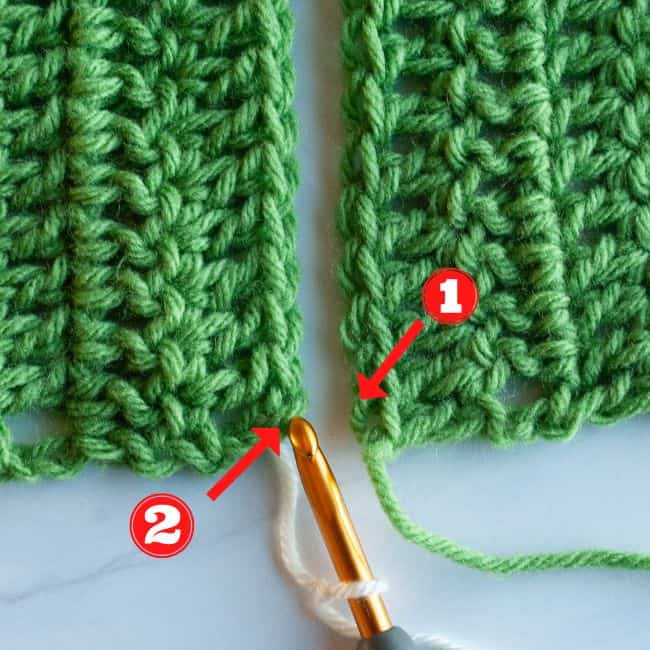
2) LOCATE THE BACK LOOPS OF THE STITCHES ON BOTH SIDES
You will be working the flat slip stitch join into the back loops of the stitches on both sides. Locate these back loops. You’ll insert your hook first into the back loop of the stitch on the right (marked with a number one). Then, you’ll insert your hook into the back loop of the stitch on the left (marked with a number two).
3) INSERT THE HOOK FROM FRONT TO BACK IN THE BACK LOOPS
Insert the hook from the front to the back of the work through the back loop of the stitch on the right. Then, insert the hook from the front to the back of the work through the back loop of the stitch on the left. You’ll end up with three loops on your hook.
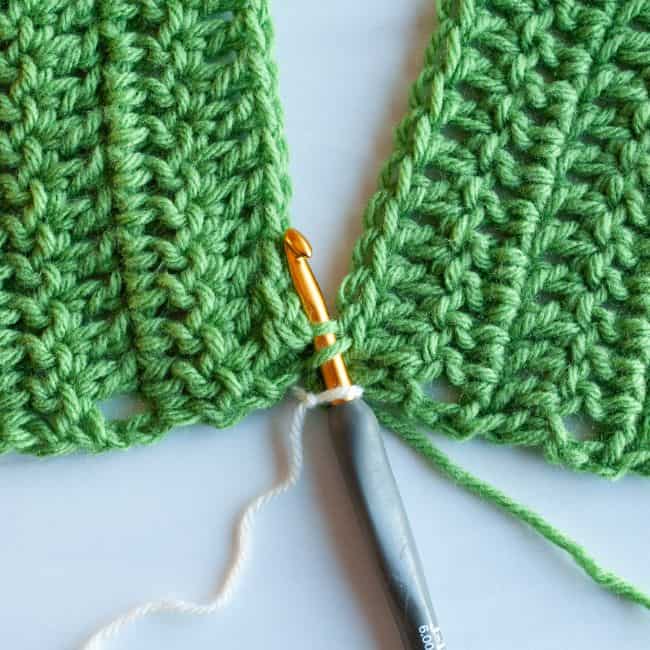
4) COMPLETE THE SLIP STITCH
Yarn over and pull through all three loops to complete the first flat slip stitch join.
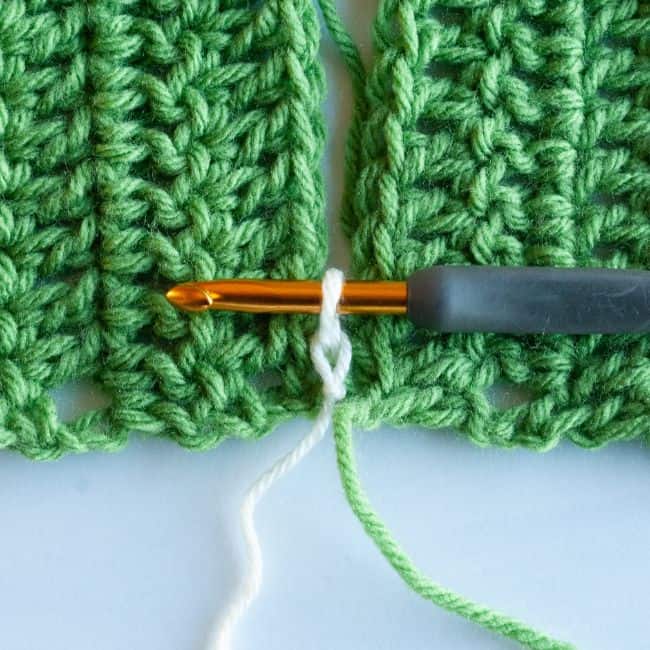
5) INSERT THE HOOK FROM FRONT TO BACK IN THE BACK LOOPS OF THE NEXT STITCHES
Insert the hook from the front to the back in the back loops of the next two stitches. Just as before, insert first into the back loop of the stitch on the right and then into the back loop of the stitch on the left.
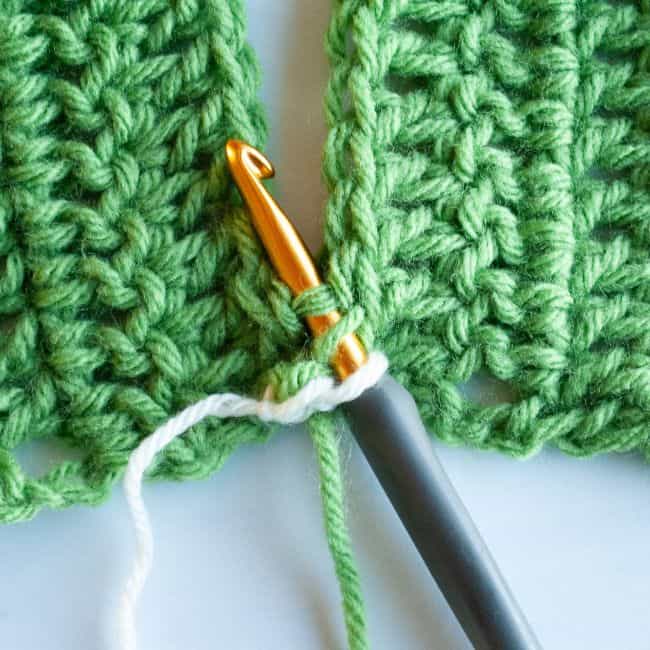
6) COMPLETE THE NEXT SLIP STITCH
Yarn over and pull through all three loops to complete the second flat slip stitch join.
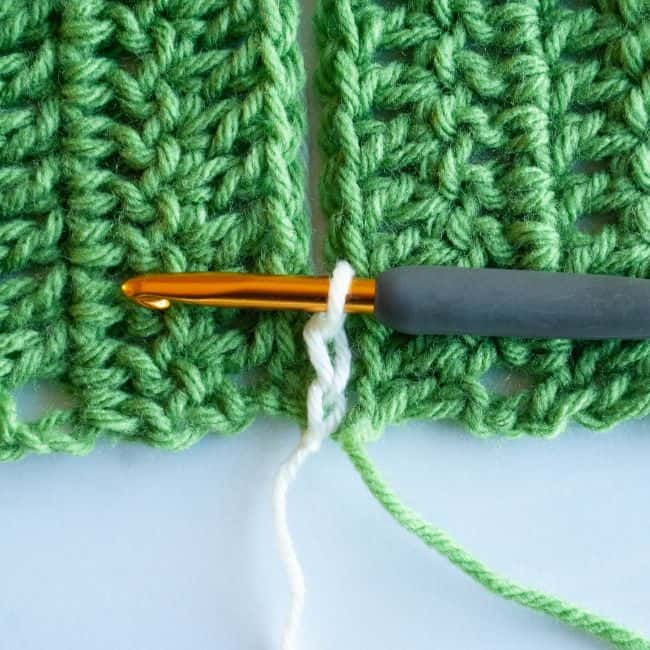
7) CONTINUE MAKING SLIP STITCHES IN THIS MANNER
Continue making slip stitches in a similar manner as you work your way up the seam.
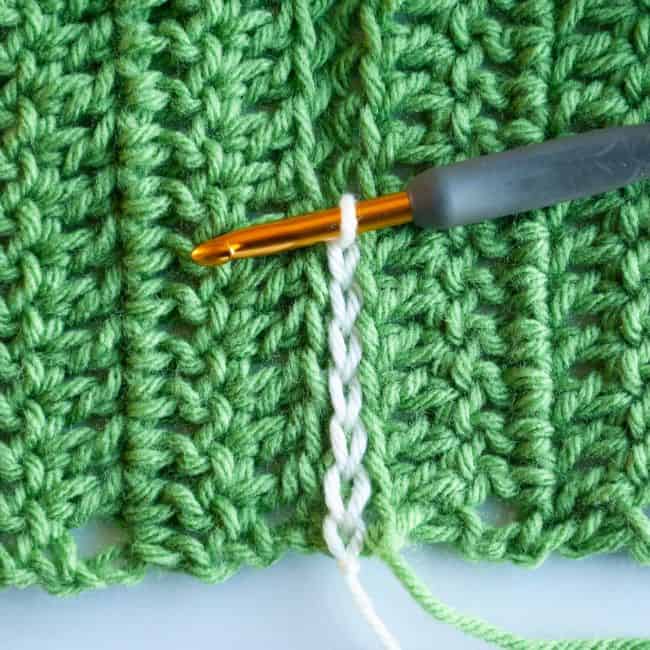
8) THE COMPLETED JOIN LOOKS BEAUTIFUL ON THE FRONT OF THE WORK
The completed join looks beautiful on the right side of your work. If you work the join in the same color as the project, it will barely be noticeable. The unworked front loops from both edges line up along the row of slip stitches.
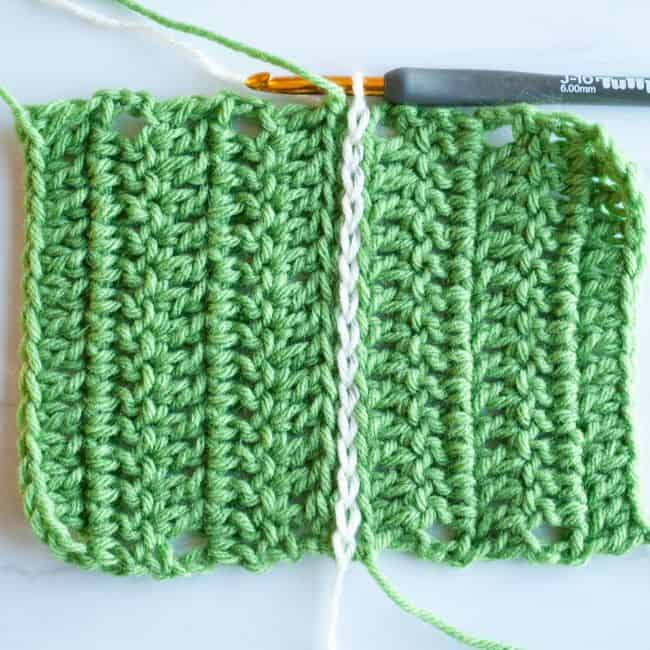
9) THE BACK LOOKS NEAT AND TIDY TOO!
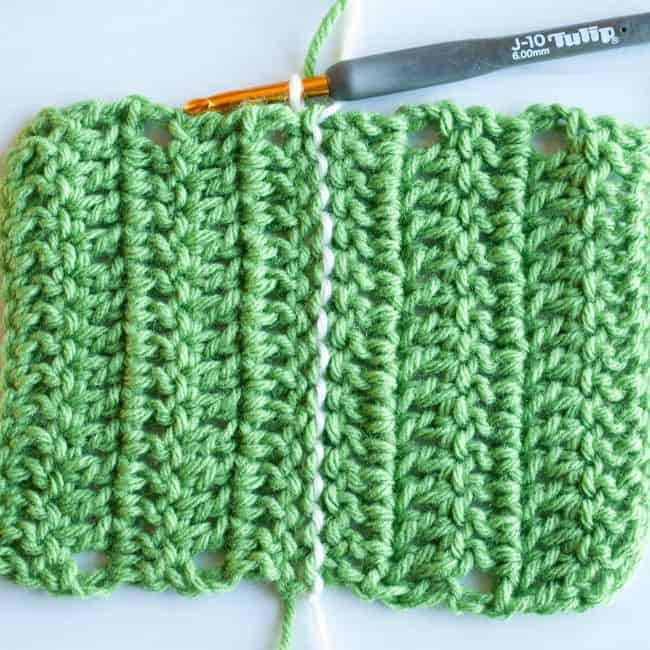
The back of your work also looks neat and tidy. And it is also barely noticeable if worked in the same color as the project. This is a great join if the wrong side of your work will be visible because it looks great on both sides.
For other crochet tutorials, check out my crochet tutorials page.
