
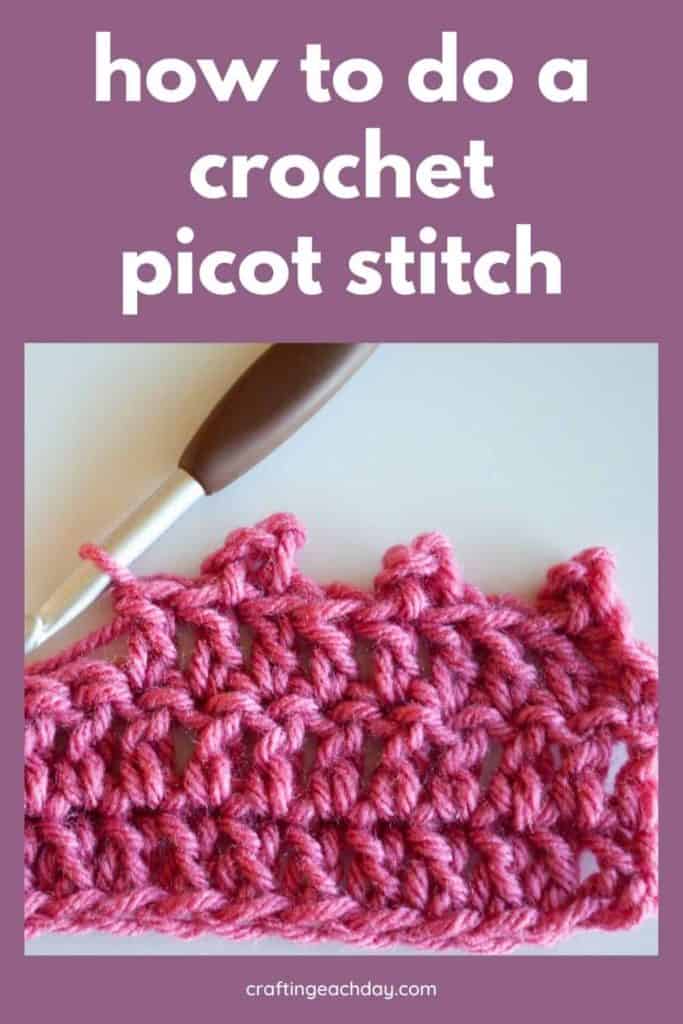
The picot stitch is a beautiful stitch for adding a decorative touch to borders and edgings. It’s also very easy to make. The only stitches you need to know for a picot are the chain stitch and slip stitch.
Knowing where to insert your hook for the slip stitch will make a big difference. This tutorial takes you step by step through how to crochet a picot stitch using my favorite method.
This post may contain affiliate links. Please see my full disclosure policy details.

This technique is easy to master. If you enjoy making picots, try out my Ivy Shawl pattern. This intermediate pattern for a triangle shawl uses picots along with shells for a decorative border.
How to Crochet a Picot Stitch Step by Step Tutorial
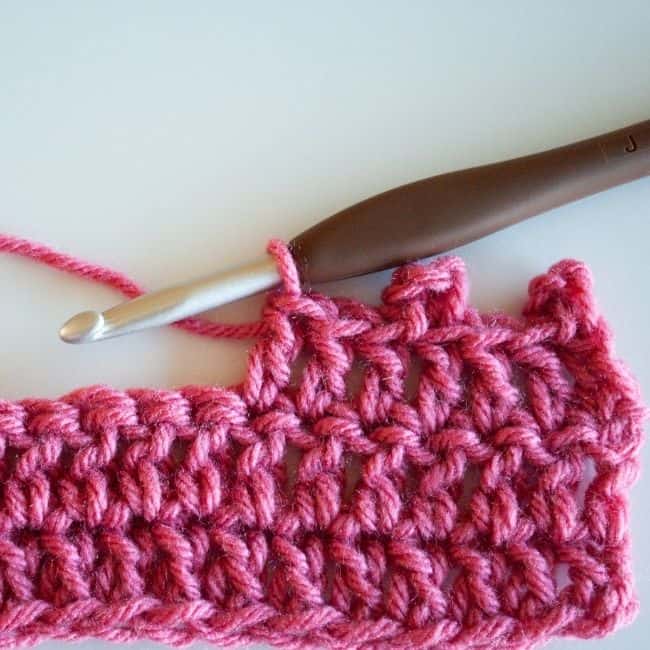
STEP ONE
The crocheter is working on a row of double crochet stitches with picots on every third stitch. The crocheter has just completed a double crochet stitch and is preparing to make the picot stitch.
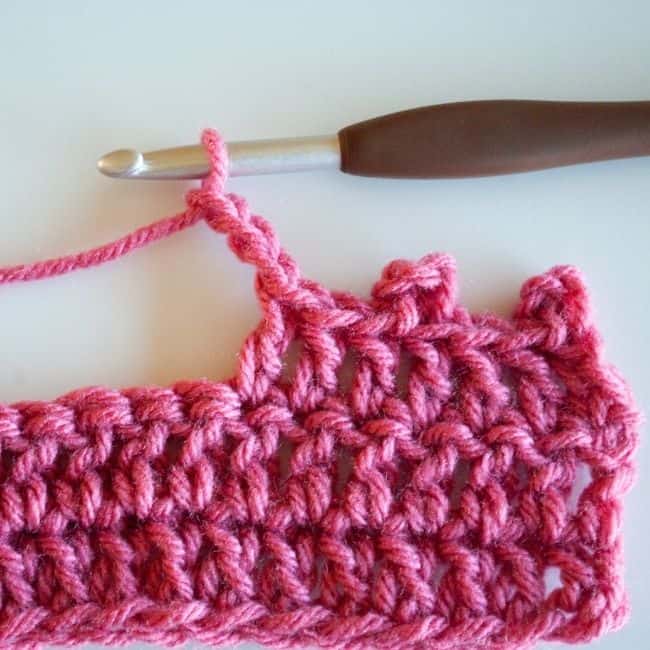
STEP TWO
Chain three to start the picot.
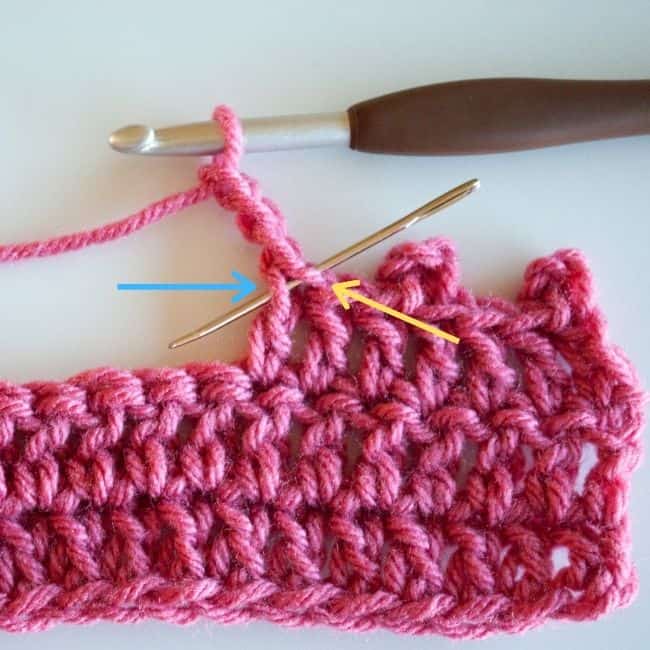
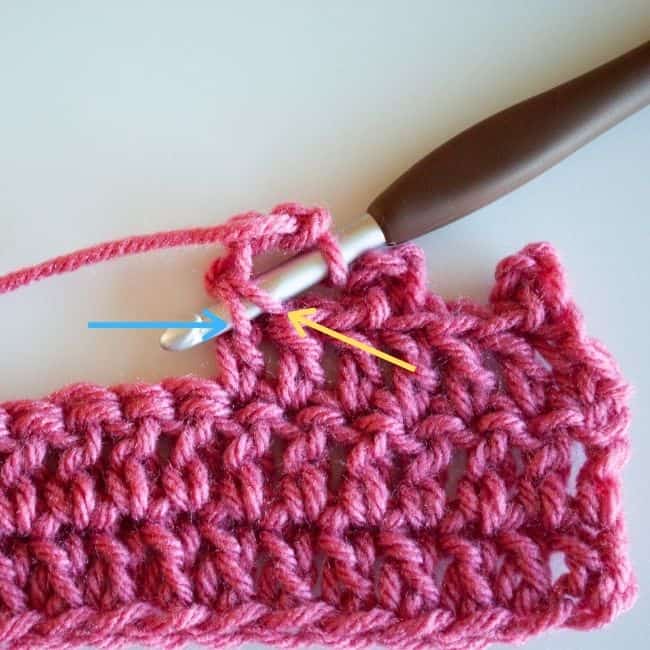
STEP THREE
This photo illustrates where to insert the hook next. The tapestry needle shows where the hook will go. It goes under the front stitch at the top of the double crochet (indicated with the yellow arrow) and also under the left leg at the top of the double crochet stitch (indicated with the blue arrow).
STEP FOUR
Here the crochet hook has been inserted. The yellow and blue arrows point to where to insert the hook.
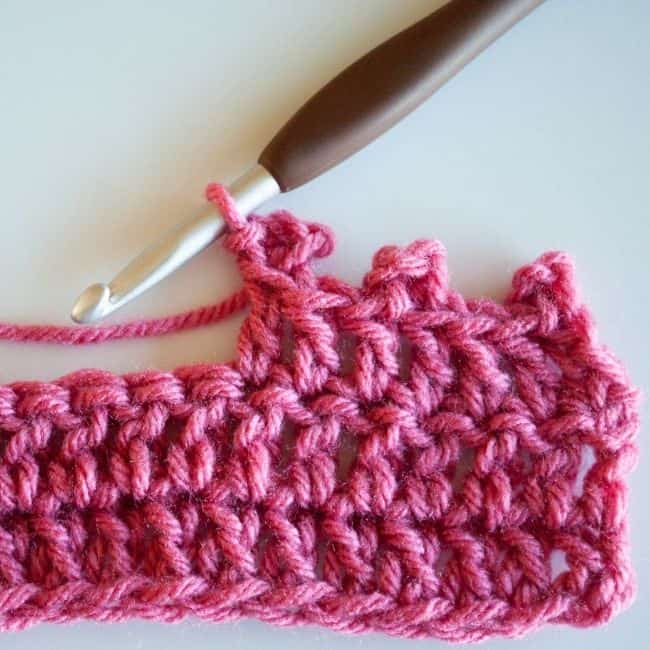
STEP FIVE
Complete a slip stitch pulling through all three loops on the hook. This completes the picot.
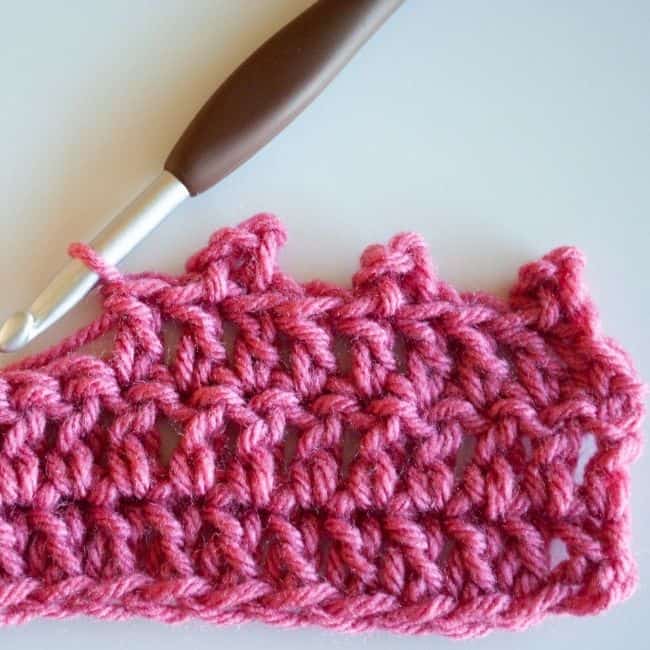
STEP SIX
This photo shows how the picot looks after two more double crochet stitches have been made.
For a project that uses this stitch, check out the Ivy Shawl pattern. For other crochet tutorials, check out my crochet tutorials page.