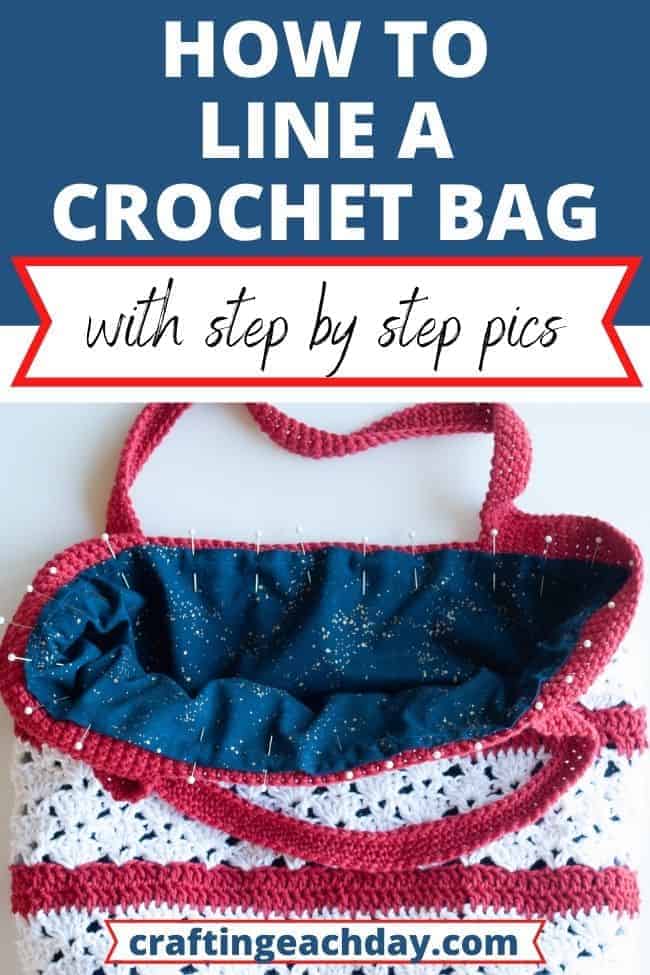
Lining a crochet bag can be a great step to finishing your project. It will give your bag a professional look. And it has other benefits too! The lining will protect all of your beautiful crochet stitches from getting worn or snagged by whatever you want to keep in your bag. The lining will also make your bag sturdier.
There are lots of variations on the ways you can line your bag. This tutorial will take you step by step through how to sew a double-layered lining for a crochet bag with an oval bottom.
If you want to sew a single-layered lining or your bag is a different shape, you can jump below the step by step instructions for tips on how to use the instructions to sew different kinds of linings.
Here’s a quick guide to the different sections of this post:
Step by Step Instructions for a Double-Layered Lining With Pics
Tips for Making a Single-Layered Lining
Tips for Lining a Bag with a Circular Bottom
Tips for Lining a Bag with No Bottom Like a Tote Bag
Tips for Lining a Bag with a Rectangular Bottom
This post may contain affiliate links. Please see my full disclosure policy details.
WHAT YOU’LL NEED TO LINE A CROCHET BAG
- Fabric of your choice
- Fabric scissors
- Paper scissors
- Tracing paper or another kind of paper
- Ruler
- Tape measure
- Thread
- Needle
- Sewing machine if you want to machine sew
- Rotary cutter and cutting mat are optional
- Pinking shears are optional
STEP BY STEP CROCHET BAG LINING INSTRUCTIONS WITH PICS
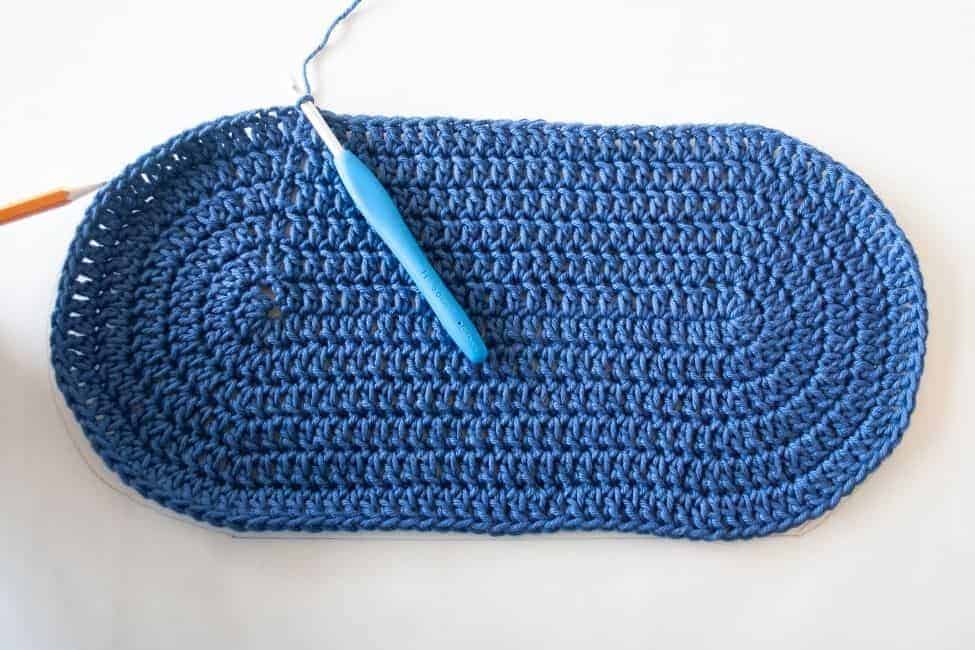
1) TRACE AROUND THE BOTTOM OF THE BAG
Trace around the bottom of the bag. I like to do this with pencil onto tracing paper. You could really use any kind of paper that you like. For this project, I used this tracing paper and pencils. This will be the start of the pattern for your bag bottom.
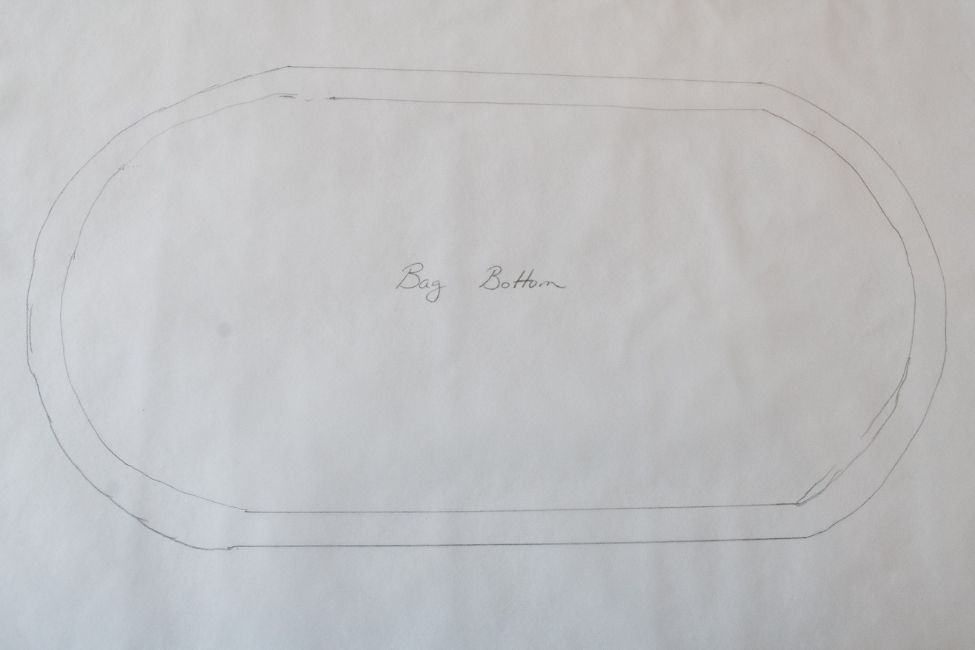
2) DRAW A HALF INCH OF SEAM ALLOWANCE ON YOUR BAG BOTTOM PATTERN
Add a half inch of seam allowance to your bag bottom pattern by drawing another oval or circle around the inner circle. For this project, I used a ruler to measure out and draw the straight edges. Then, I just eye balled it for the curvy sides.
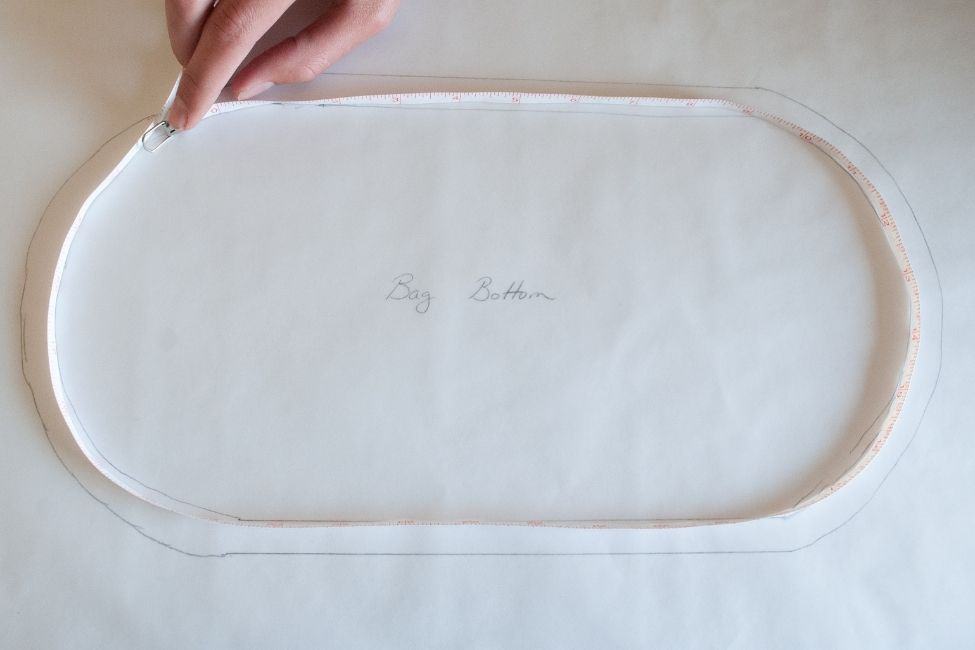
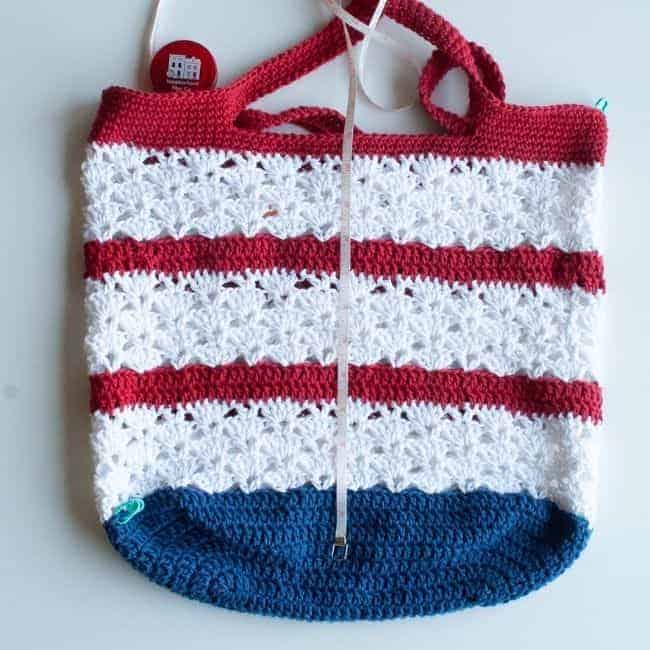
3) MEASURE THE HEIGHT OF THE BAG AND THE CIRCUMFERENCE OF THE BOTTOM
Next measure both the height of the bag and the circumference of the bottom. I used a tape measure to take both of these measurements.
The tape measure is especially helpful when you measure the circumference of the bottom. Run the tape measure around the inner line on your bag bottom pattern piece. This inner line is the sewing line. It will give you the measurement for how wide your bag side piece needs to be. Write this measurement down as the bag width measurement.
Measure the height of the bag on bag itself. Place the “0” or starting place for the measurement at the point where bottom of the bag ends and the side of the bag starts. Take the top measurement below the handles at the point where you want your lining to be sewn inside the bag. Write this measurement down as the bag height measurement.
4) DRAW YOUR BAG SIDE PATTERN
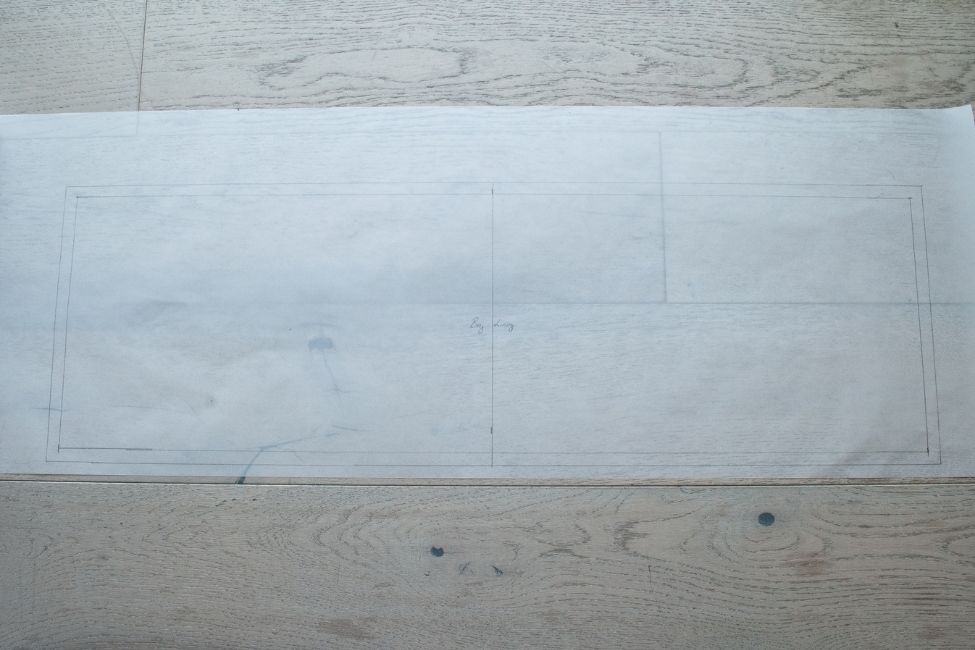
Using the two measurements from Step 3, draw your bag side pattern. You will be drawing a rectangle. Use the bag height measurement from Step 3 for the height of the rectangle. Use the bag width measurement for the width of the rectangle.
Then draw a half inch of seam allowance around the rectangle. This piece ended up being a little large for my bag so I took this photo on the floor.
5) CUT OUT YOUR PATTERN ON FABRIC
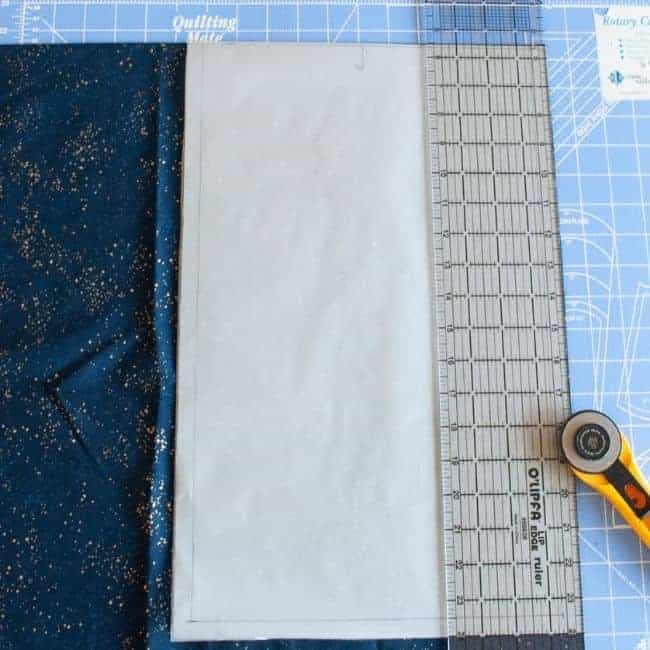
Cut out your pattern on fabric of your choice. I recommend using a cotton fabric with a tight weave like a quilting cotton. To cut out my pattern pieces, I laid my fabric out on the fold. I then folded my bag side pattern in half and laid it next to the fold of the fabric. Then, I was able to use my ruler and rotary cutter to cut out the bag sides. Because I was making a double lining for my bag, I did this twice to get two bag side pieces.
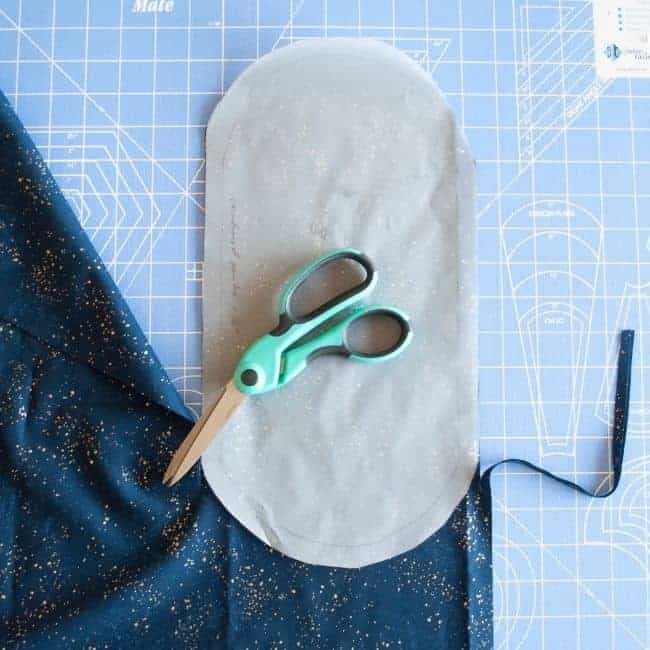
By cutting on with the fabric folded, I was able to use my fabric scissors to cut out two of the oval bottom pieces at once.
6) PIN YOUR PIECES AND SEW A HALF INCH SEAM
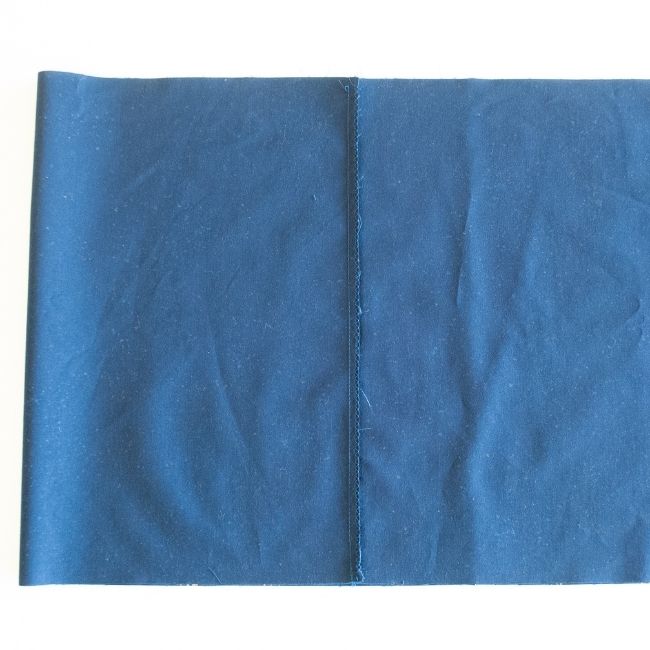
First, you will make a tube with your bag side piece fabric. Pin the two short edges together. Then sew a half inch seam. I finished mine by trimming the seam to a quarter inch and then adding a zig-zag stitch edging to the seam. Here’s a photo of this finished seam with the zig zag.
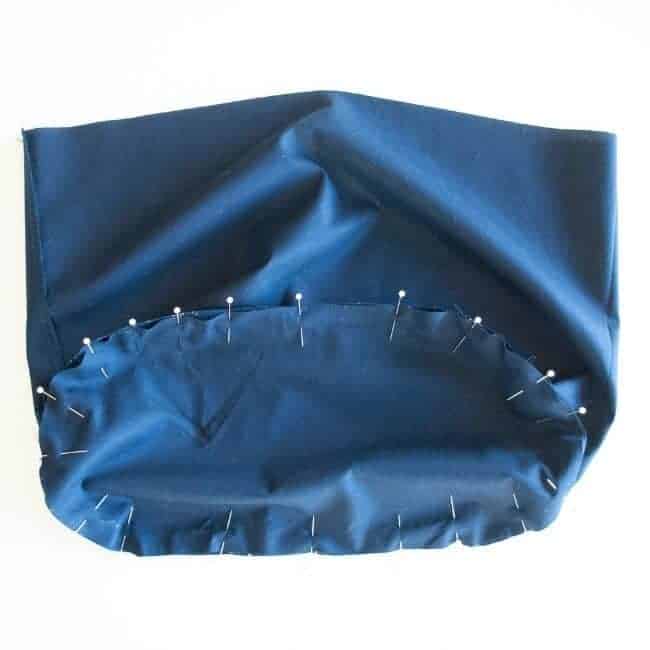
After making the tube, the next step is to pin the bag bottom piece to the tube. This is a little tricky because you’re pinning an oval shape to the straight edge of the tube. I find it’s easy to place pins first on the two opposite sides of the oval or circle. Then place pins at the halfway points in between the first two pins. Then gradually work in the additional pins.
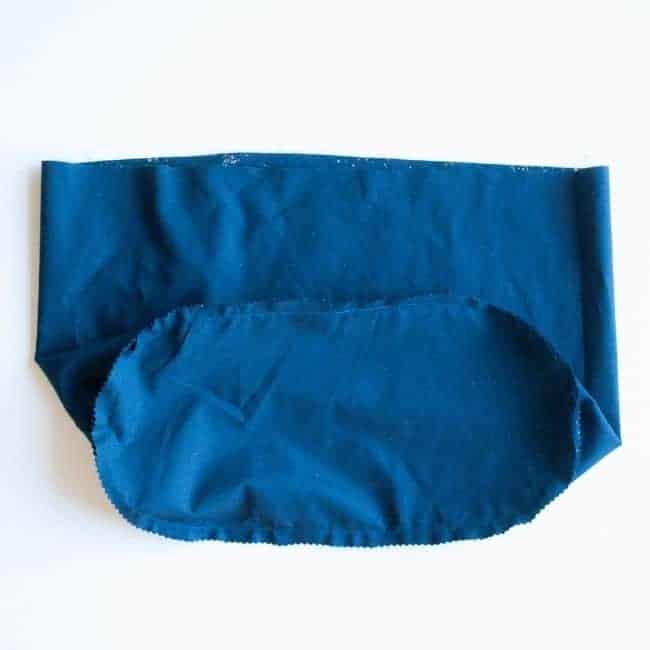
Carefully sew the half-inch seam around the bag bottom. To finish this seam I just trimmed the edges with pinking shears.
7) LINE UP YOUR BAG PIECES AND SEW THE TOP HEM
For a double lining bag, line up the inner and outer lining pieces. One piece will be right side out. And one piece will be wrong side out. I like to add pins to both side edges and in the middle of the pieces. This helps to line them up.
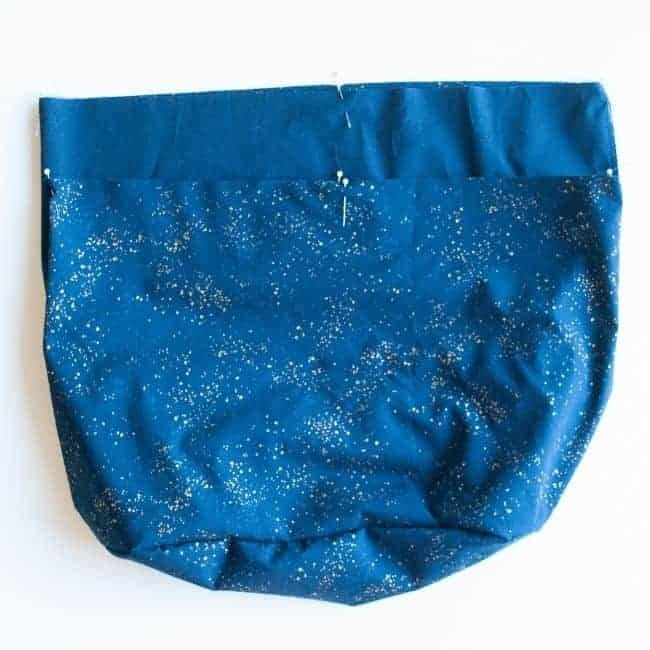
You will be inserting the piece with the right side out inside of the piece with the wrong side out. This may seem counter-intuitive. Just make sure it looks like the pictures. The right sides of both layers will be touching each other. And you will see the wrong sides both on the outside and inside of the bag lining at this point.
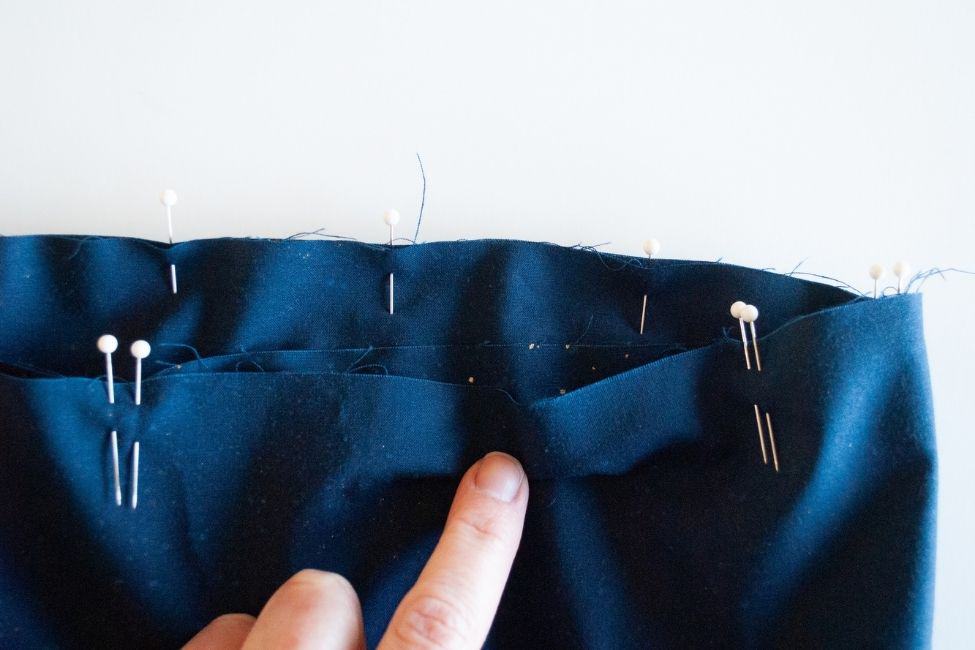
Pin around the top leaving an opening of about three to four inches. I marked the opening with a double set of pins.
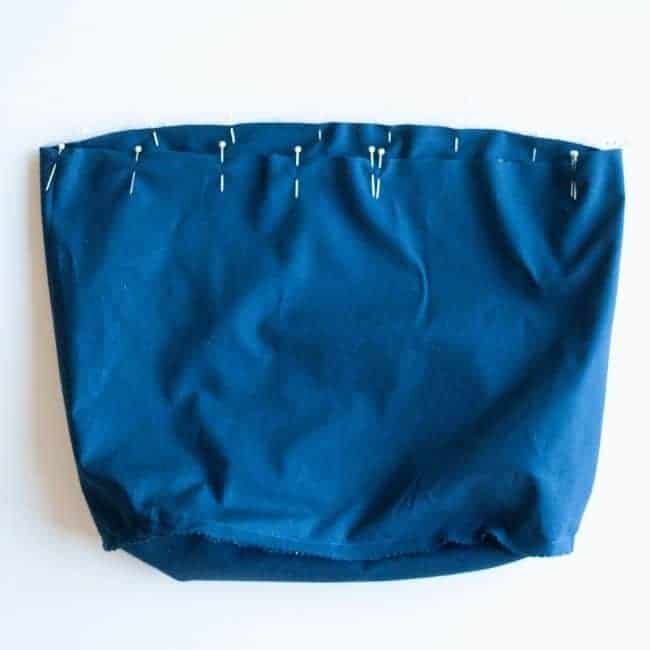
Here’s a close up of the opening that also shows how the right sides of the fabric are touching each other at this stage
Sew a half inch seam around the top hem. Be careful not to sew the three to four inch opening closed! After you sew the half inch seam, pull the lining through the hole so that the right sides are now on the outside. Here’s a photo of right after I pulled one lining through the other so that the right sides are now on the outside.
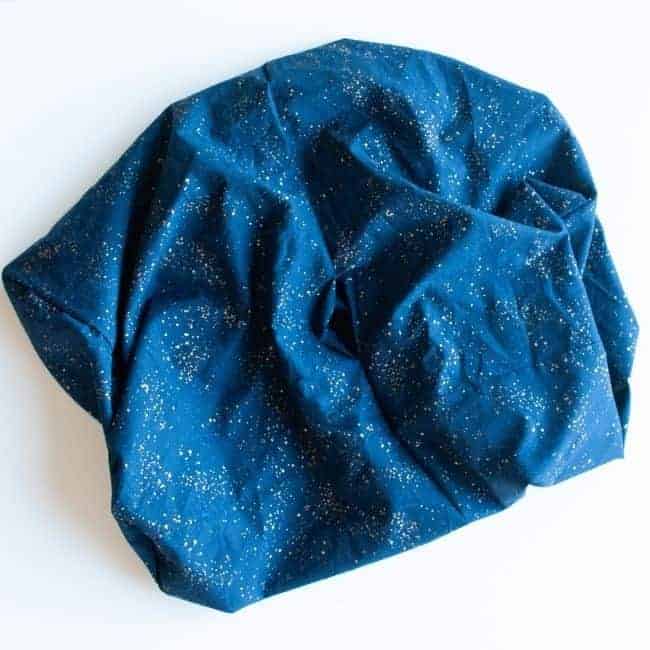
8) IRON THE TOP EDGE AND FINISH THE TOP SEAM
Smooth out the two layers. Press the top edge. I like to use a steamy iron for this step. And I left a bit of the edge showing higher on the inner layer.
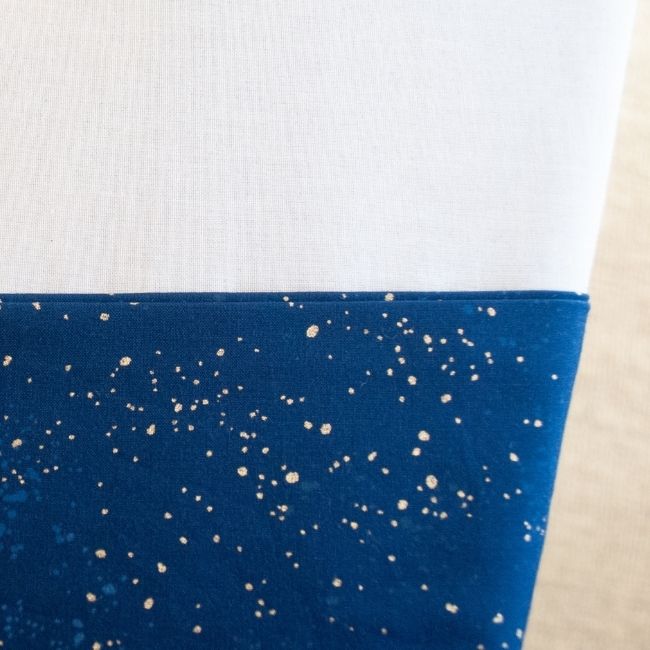
At the place of the opening, just turn the edges down and press there as well in the same manner.
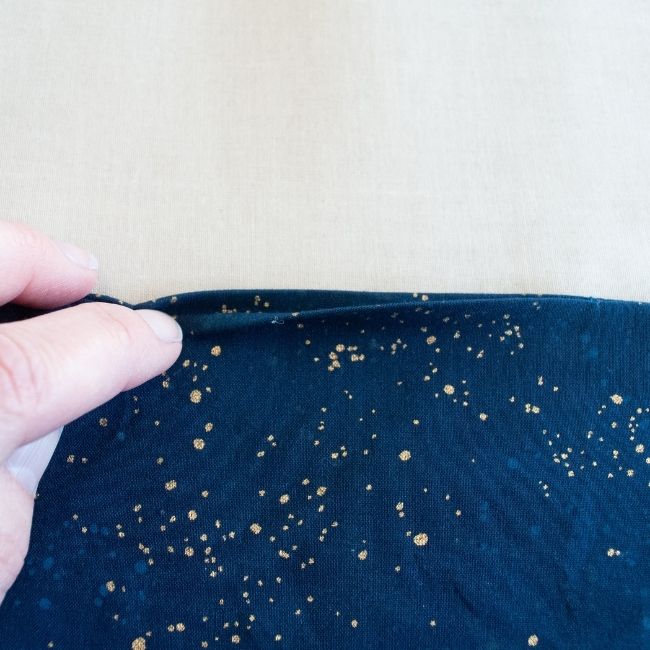
Pin around the top edge. Sew a quarter inch seam to finish the top.
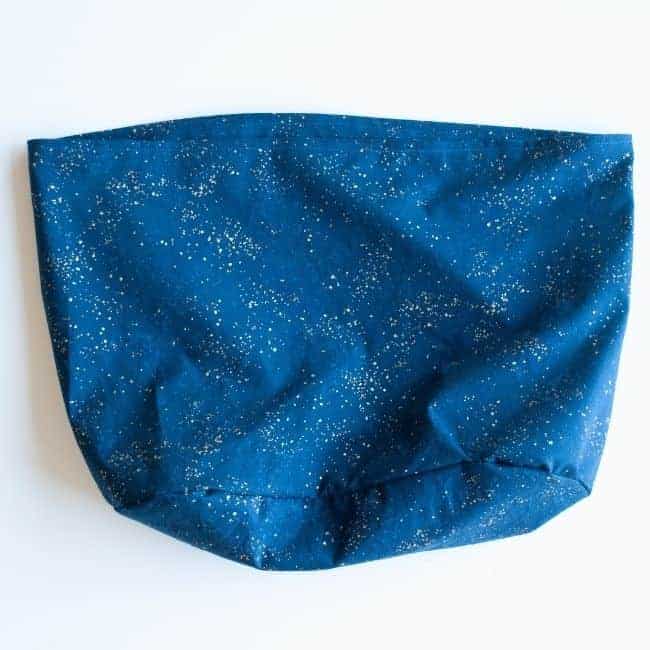
9) PIN THE FABRIC LINING INTO THE CROCHET BAG AND HAND SEW IN PLACE
Pin the fabric lining into the crochet bag. I like to pin it under the handles first. Then I can generally follow the line of that row of stitches around the bag and pin the rest of the lining in place.
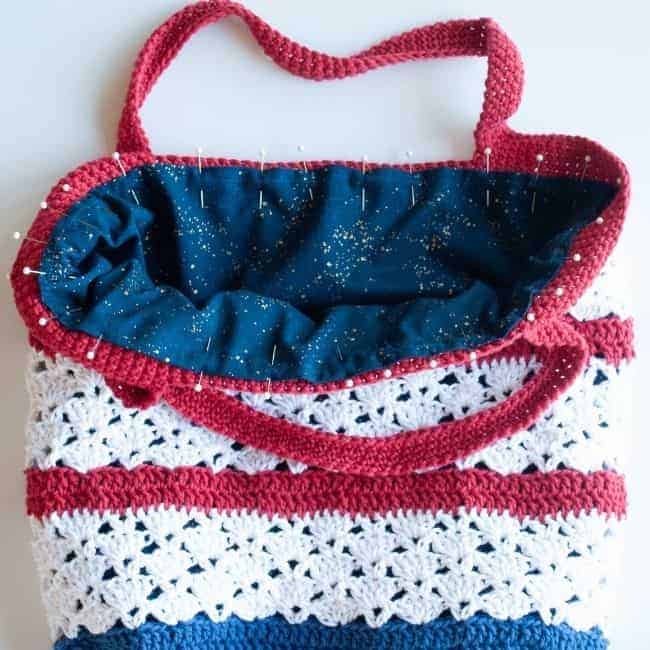
Hand sew the lining onto the crochet bag. You can use a variety of stitches for this purpose. I used the stitch that’s sometimes called the blind stitch or applique stitch. You could also use a whip stitch or a blanket stitch.
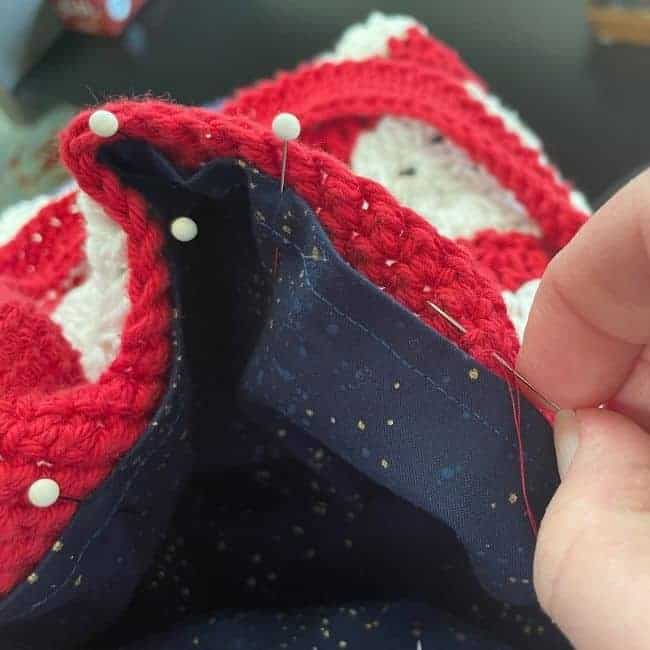
10) ENJOY YOUR BAG!
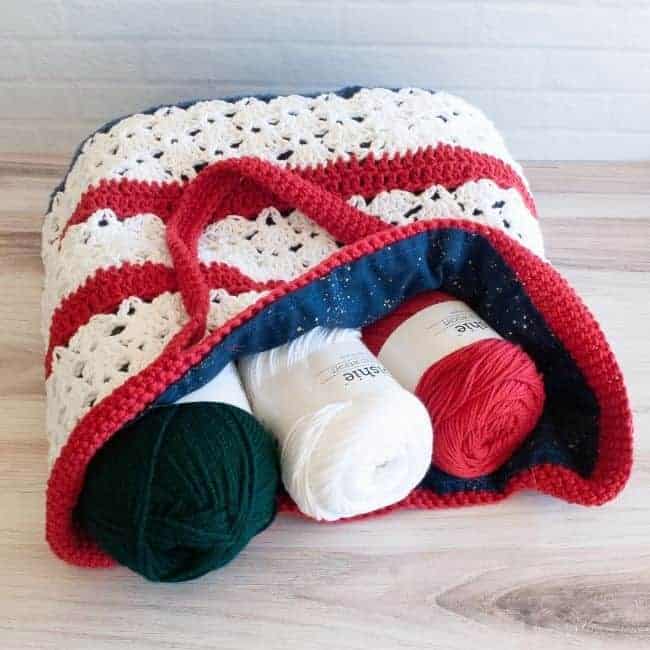
Enjoy your finished bag with its fabric lining!
What if you want to make a single-layered lining?
I did a double-layered lining for this bag because I didn’t want the seams to show. Especially with the holes from the shell design, I thought it would be nice to have a double-layered lining.
You might want to make a single-layered lining for several reasons. It’s lighter than the double-layered lining. It’s faster to make. If your fabric looks good from both sides, then it can look good both towards the inside and the outside. And if your crochet bag is more solid and less lacy, the seams won’t show through the holes in the crochet. Or you can put the seams on the inside of the bag if you don’t mind seeing them.
Making a single-layered lining is even easier. Just cut out one bottom piece and one side piece. Follow the instructions to sew the pieces.
Then at Step 7 for the top hem, just fold over the top edge a quarter inch and then another quarter inch. Pin it, and sew a seam around the top close to the edge being careful to capture all the layers of the hem.
Skip to Step 9 and pin your single-layered lining into the bag with the right side showing in the direction you choose. If you have a fabric that looks good from both sides, you just need to decide if you want the seams to show on the inside or towards the outside.
What if your bag has a circular bottom?
It’s easy to follow the instructions for a bag with a circular bottom. The only thing you need to change is when you trace around the bottom of the bag in Step 1. You will be tracing a circular shape instead of an oval shape.
What if your bag doesn’t have a bottom?
Some bags don’t have a bottom. They can be just two sides like a flat tote bag.
For these you would just measure the height and width of the side of the bag. Then make the pattern piece for the bag side like in Step 4.
Use the height of the bag for the height of the pattern piece. Use two times the width of the bag for the width of the pattern piece. You will still need to add your half-inch seam allowance like in Step 4.
After you sew your tube in Step 6, fold the tube in half. Then sew a half inch seam along the bottom of the bag as well to close up the bottom. You can finish this seam with a zig zag or pinking shears.
Then finish the top in the same way as the rest of the instructions. And sew the lining into the bag as well.
What if the bottom of your bag is rectangular?
If the bottom of your bag is rectangular, you can follow the same instructions as above. Instead of drawing an oval or circular bottom piece, you’ll be drawing a rectangle.
There’s also a method for sewing a rectangular lining that involves folding corners on the bottom of the bag. If you’d like to try this method, here’s a great tutorial that method that I found for that on a sewing website.
For more crochet tutorials, check out my crochet tutorials page.

