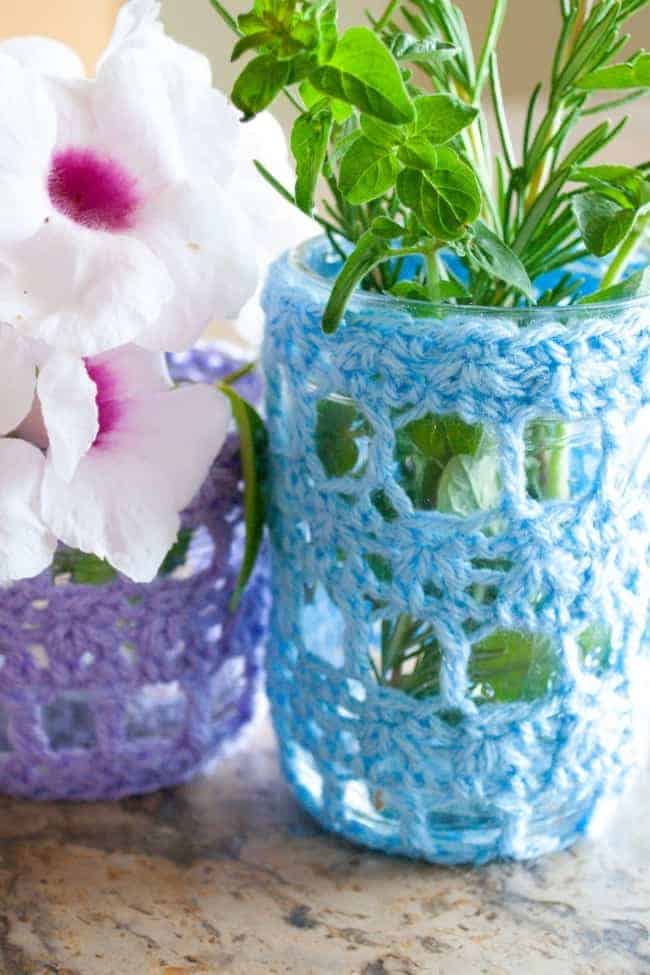
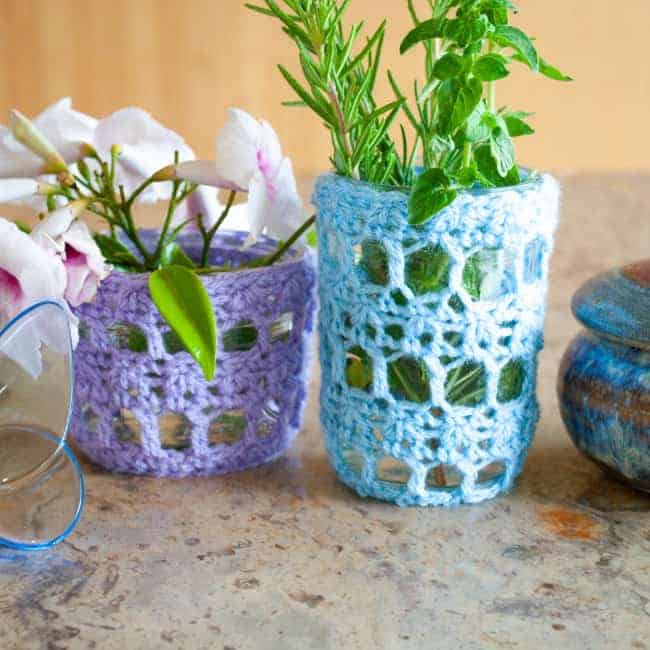
When the weather is warm we might not always want to work on a blanket or other big crochet project. These crochet mason jar covers can give you a quick and fun project. They are also great for adding a little decoration to your table or desk. Pop in a little water and some flowers. Or maybe use them to decorate a jar for holding pens or your crochet hooks. The free pattern is perfect for quick and fun gifts.
These are also a great stashbusting project. Make a bunch to use up your tiny skeins of scrap or leftover yarn. Wouldn’t it be fun to make some to put over gifts of jam or other yummy treats too?
This post may contain affiliate links. Please see my full disclosure policy for details.
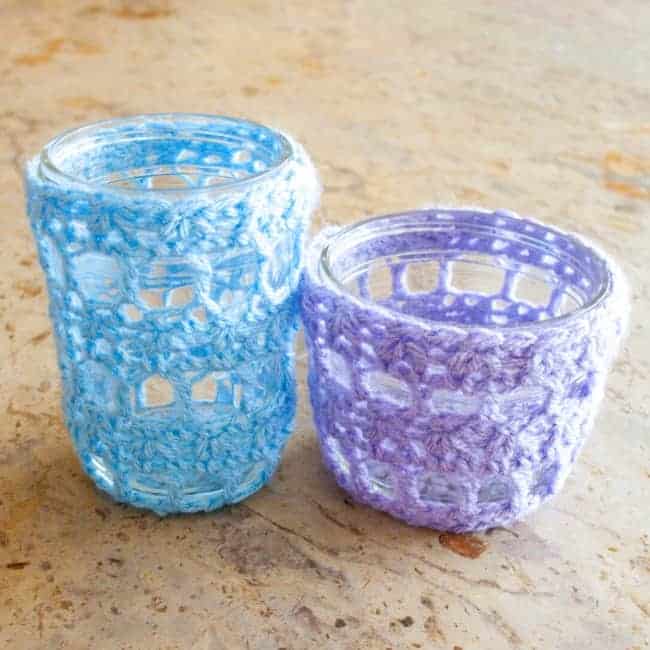
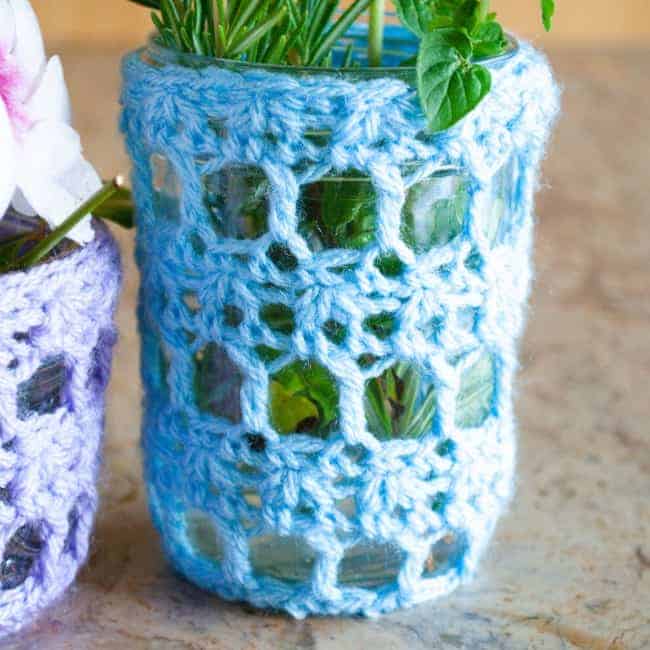
These mason jar covers feature a combination of open work with double crochet and chain stitches and bands of tighter worked bands based on single crochet stitches. This combination lends itself to making covers that allow the light to shine through. At the same time, they are also snug enough to stay on the jars. This is a great pattern for using up scrap yarn. You only need about 20 yards of dk weight yarn to cover one jar.
Summer Solstice Event: This pattern was part of the Summer Solstice Event hosted by The Loophole Fox in June 2020. During the event, a group of designers teamed up to offer more than 25 free patterns to celebrate the start of Summer. The event has ended now. You can still find all the patterns that were part of the event on the event post.
PDF Pattern Downloads: The full pattern is included below in this post for free. You can also purchase a PDF in my Ravelry Shop.
CROCHET MASON JAR COVERS PATTERN
Size: Adjustable to fit any standard mason jar.
Yarn: DK weight (#3 Light) in color of choice.
Shown: Stylecraft Special DK (100% acrylic), 322 yd [295m]/3.5 oz [100g]: various colors in small amounts.
Hook: Size G/6 (4.5mm) or size of your choice.
Gauge: Exact gauge is not critical.
Notions: Tapestry needle, stitch marker.
Other Materials: Mason jars.
Standard Stitch Abbreviations (U.S. Crochet Terminology):
ch = chain
ch-1 sp = chain one space
dc = double crochet
sc = single crochet
sc3tog = single crochet 3 together
sc blo = single crochet back loop only
sk = skip
sl st = slip stitch
rep = repeat
rnd = rnd
sp = space
st(s) = stitch(es)
Special Stitch Instructions:
Sc3tog: insert hook in next stitch, yarn over and pull up a loop through st (2 loops on hook), insert hook in next stitch, yarn over and pull up a loop through st (3 loops on hook), insert hook in next stitch, yarn over and pull up a loop through st (4 loops on hook), yarn over and pull through all 4 loops on hook, sc3tog completed
Notes:
- Magic loop tutorial at https://craftingeachday.com/magic-loop-tutorial/
- Bottom is worked in a spiral. Do not join or turn while working bottom.
- Body is not worked in a spiral. It is worked in completed rounds.
- Use stitch marker to mark the first st of each rnd and move it up for each new rnd
- The pattern uses U.S. crochet terminology.
- Invisible join tutorial at https://craftingeachday.com/crochet-invisible-join-tutorial-crochet-in-the-round/.
MASON JAR PATTERN INSTRUCTIONS
Bottom
Begin with magic loop.
Rnd 1: Ch 1 (does not count as a st), work 6 sc in magic loop – 6 sc.
Rnd 2: Work 2 sc in each st of previous rnd – 12 sc.
Rnd 3: *2 sc in next st, sc in next st; rep from * around – 18 sc.
Rnd 4: *2 sc in next st; sc in each of next 2 sts; rep from * around – 24 sc.
Note: Continue working rounds in the same manner. For each new round, add one more single crochet after the 2 sc in each repeat. For example, the rnd 5 repeat would “2 sc in next st; sc in each of next 3 sts,” and the rnd 6 repeat would be “2 sc in next st; sc in each of next 4 sts.” Continue working bottom until the circle laid flat is a tiny bit (about 1/8 inch) smaller in diameter than the bottom of the jar. Then, continue to transition rnd.
Transition rnd: Sc blo in each st of previous rnd, join with sl st to first sc. Continue to body.
BODY PATTERN INSTRUCTIONS
Rnd 1: Ch 4 (counts as a dc and ch 1), sk a st, *dc in next st, ch 1, sk st; rep from * around, join with sl st to 3rd ch of beg ch 4.
Rnd 2: Ch 1 (does not count as a st), sc in same st, sc in each ch-1 sp and st around, join with sl st to 1st sc.
Rnd 3: Ch 1 (does not count as a st), sc3tog inserting hook first into 1st sc of prior rnd and then across next 2 sts, *ch 1, sc3tog inserting hook first into same st as at end of previous sc3tog and then across next 2 sts; rep from * until completing a sc3tog that ends at the base of the first sc3tog, ch 1, join with a sl st to the top of the first sc3tog.
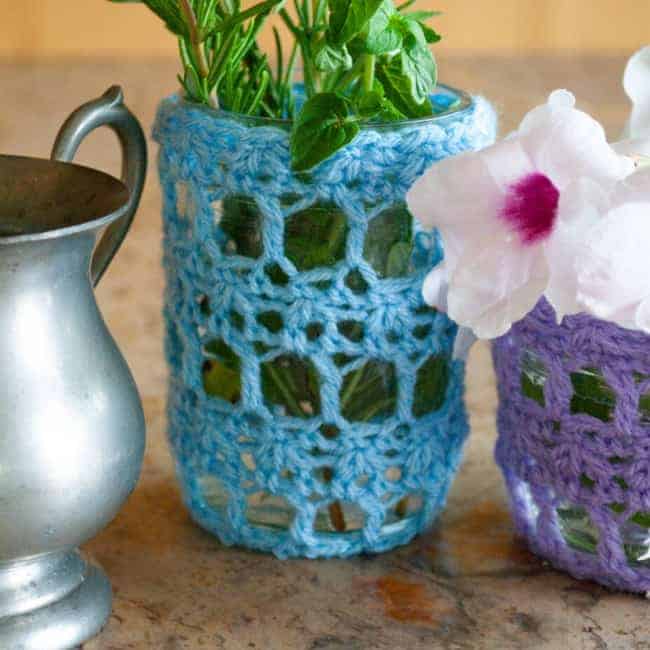
Rnd 4: Sl st over one st to get to a ch-1 sp, ch 1 (does not count as a st), sc in each ch-1 sp and top of each sc3tog around, join with a sl st to 1st sc.
Rep rnds 1-4 until cover is at desired height. End last rep of rnd 4 with an invisible join.
Finishing: Weave in ends. Pull cover over mason jar.
If you are looking for more project ideas for using scrap yarn, check out the Stashbusting Lace Scarf, the Four Blooms Square, and the Stashbusting Washcloths.

