One of the first crochet projects I ever tackled was a spin on a granny square blanket. Ever since then, I have always loved the idea of pulling a variety of squares together to make a blanket. For the In Bloom Spring Blanket Crochet Along, I thought it would be fun to present a crochet flowers square made up of little squares.
This post may contain affiliate links. Please see my full disclosure policy for details.
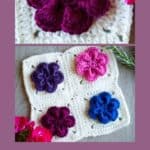
The Four Blooms Square will give you an opportunity to pick one to four of your favorite colors for the flowers. This square is a great opportunity for you to highlight particular colors from other parts of the blanket. Then, surround the flowers with your neutral color of choice.

In Bloom Spring Blanket Crochet Along
This pattern was part of the In Bloom Spring Blanket Crochet Along hosted by Claire from BearRye during April 2020. Although the Crochet Along has ended, you can still find all the squares over on BearRye.
Each day Claire featured a different square designed by a different designer.
We Crochet generously donated the yarn to the designers for the Crochet Along. The yarn is called Mighty Stitch and is a lovely blend of 80% acrylic and 20% wool.
PDF Pattern Downloads: This pattern is included in full in this blog post. You can also get the PDF in my Ravelry Shop. The PDF Pattern also includes additional photos and a tutorial for sewing the squares together.
Pattern
Finished Measurements: approximately 8” x 8”
Yarn: Worsted weight (#4 Medium) in colors of choice. FC (flower colors) approximately 9 yards each of four colors of choice for flowers. BC (background color) approximately 68 yards in a background color to surround the flowers
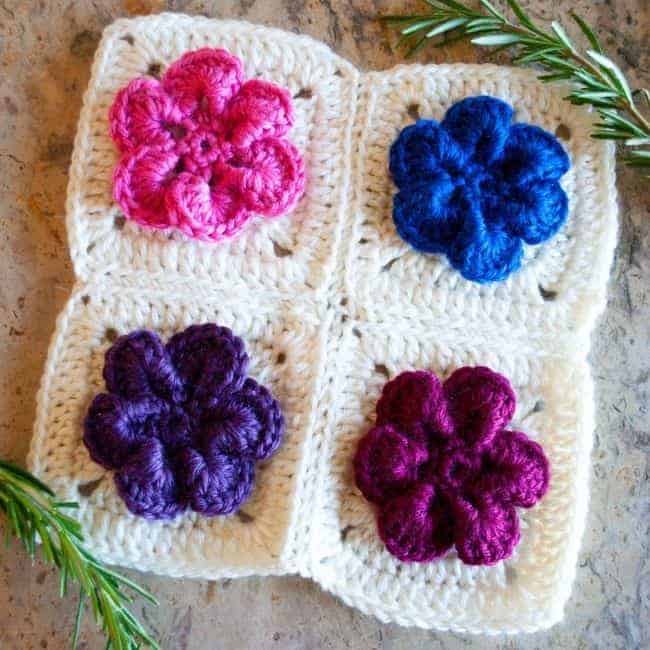
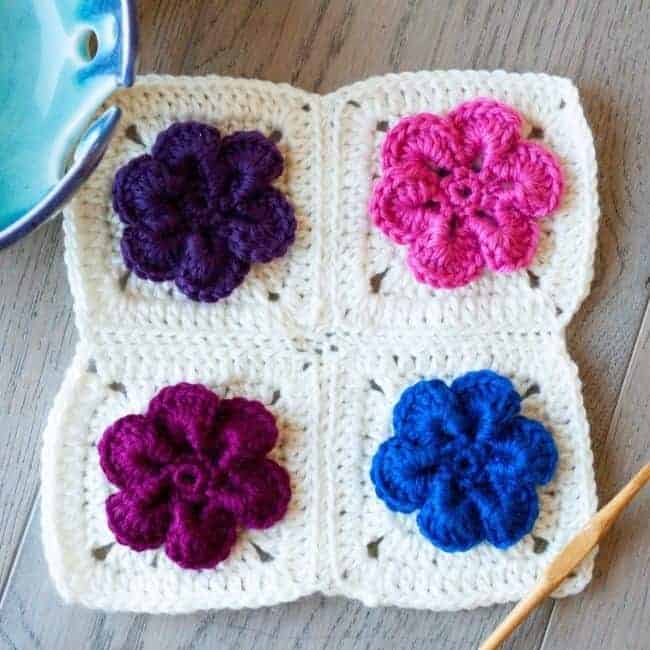
Shown above: KnitPicks/WeCrochet Mighty Stitch (80% acrylic, 20% wool), 208 yd [190m]/3.5 oz [100g]: #26813 (Celestial), partial skein, #26835 (Fairytale), partial skein, #26828 (Mulberry), partial skein, #28063 (Bubblegum), partial skein, #26831 (Cream), approximately 1/3 skein.
Hook: Size G/6 (4.5mm) or size needed to obtain gauge.
Notions: Tapestry needle, tape measure.
Gauge: 17 stitches and 20 rows – 4 inches in sc.
Pattern Key (Standard U.S. Crochet Terminology):
BC: background color
ch: chain
ch-2 sp: chain 2 space
ch-5 sp: chain 5 space
dc: double crochet
FC: flower color
hdc: half double crochet
MPetal: Make Petal = [3 hdc, 2 dc, 2 tr, 3 dc] in ch-5 sp
rep: repeat
rnd(s): round(s)
sc: single crochet
sl st: slip stitch
sp(s): space(s)
st(s): stitch(es)
tr: treble crochet
Notes: Pattern uses standard US crochet terminology. Beginning chains for each round do not count as stitches. Tutorials are available for the following special techniques:
Magic loop – tutorial at https://craftingeachday.com/magic-loop-tutorial/
Invisible join in the round – tutorial at https://craftingeachday.com/crochet-invisible-join-tutorial-crochet-in-the-round/
Beginning chains of each round do not count as stitches – tutorial at https://craftingeachday.com/beginning-chains/
Making stitches at the beginning of a round “in same stitch” – tutorial at https://craftingeachday.com/same-stitch/
Flowers
Make 4 – one in each of the FC colors of your choice.
With FC, begin with magic loop.
Rnd 1: Ch 1 (reminder – beginning chain(s) do not count as stitches in this round and all subsequent rounds), work 6 sc magic loop, sl st to first sc to join. (6 sc)
Rnd 2: Ch 1, sc in same stitch, *ch 5, sc in next st; rep from * 4 more times, ch 5, sl st to first sc to join. (6 sc and 6 ch-5 loops)
Rnd 3: *MPetal in next ch-5 sp, sl st in next sc; rep from * 4 more times, MPetal in next ch-5 sp, sl st to last sl st of prior rnd to join, fasten off. (6 sl st and 6 petals)
Note: Don’t be concerned if the flowers are curly at this point. The PDF pattern also provides a photo for how the flowers might look at the end of Rnd 3. After completing the flowers, continue to Rnd 4 instructions below.
Little Squares
Complete Rnds 4 – 7 around each flower with BC to complete the little squares.
Rnd 4: With BC, join with sl st to any sl st of previous rnd, ch 1, sc in same stitch, ch 2, *sc in next sl st, ch 2; rep from * 4 more times, sl st to first sc to join. (6 sc and 6 ch-2 spaces)
Note: Rnd 4 will make a fairly tight ring of stitches in BC. See Photo 2 at the end of the pattern for how rnd 4 may look. I worked rnds 4 and 5 with the yarn on top of the flower and then pushed the flower through to the top after rnd 5.
Rnd 5: Ch 2, dc in same st, 3 dc in next ch-2 sp, *dc in next sc, 4 dc in next ch-2 sp; rep from * 1 more time, dc in next sc, 3 dc in next ch-2 sp, **dc in next sc, 4 dc in next ch-2 sp; rep from ** 1 more time, sl st to first dc to join. Push the flower through to the top of the little square. Arrange the petals. (28 dc)
Note: The PDF pattern provides a photo of how the ring of 28 dc looks after completing rnd 5. And, there is also a photo in the PDF pattern of how it looks after pushing the flower through to top after rnd 5 and arranging the petals.
Rnd 6: Ch 2, 2 dc in same st, dc in next st, hdc in next st, 2 hdc in next st, hdc in next st, dc in next st, 2 dc in next st, ch 2, *2 dc in next st, dc in next st, hdc in next st, 2 hdc in next st, hdc in next st, dc in next st, 2 dc in next st, ch 2; rep from * 2 more times, sl st to first dc to join. (4 ch-2 sp, 24 dc, and 16 hdc; square now has 4 sides)
Rnd 7: Ch 2, dc in same st, dc in each of next 9 st, [2 dc, ch 2, 2 dc] in ch-2 sp, *dc in each of next 10 st, [2 dc, ch 2, 2 dc] in ch-2 sp; rep from * 2 more times, sl st to first dc to join, fasten off leaving a 20” tail on the first and second square. (4 ch-2 sp and 56 dc)
Join Squares: Join little squares using the method of your choice. The PDF pattern includes a picture tutorial at the end of the pattern for the sewing method that I used.
Finishing: Weave in ends. Block if desired.
If you like the Four Blooms Square, you might also like the Squishy Squares Blanket pattern. Or, the Squishy Baby Hat and Squishy Adult Hat that coordinate with the Squishy Squares Blanket.